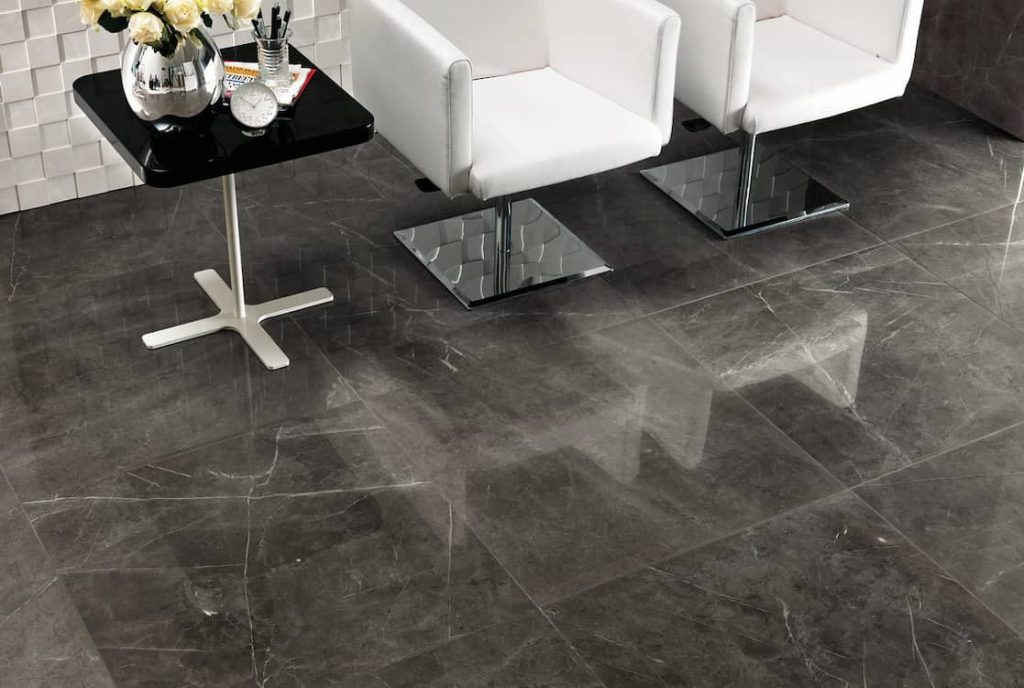
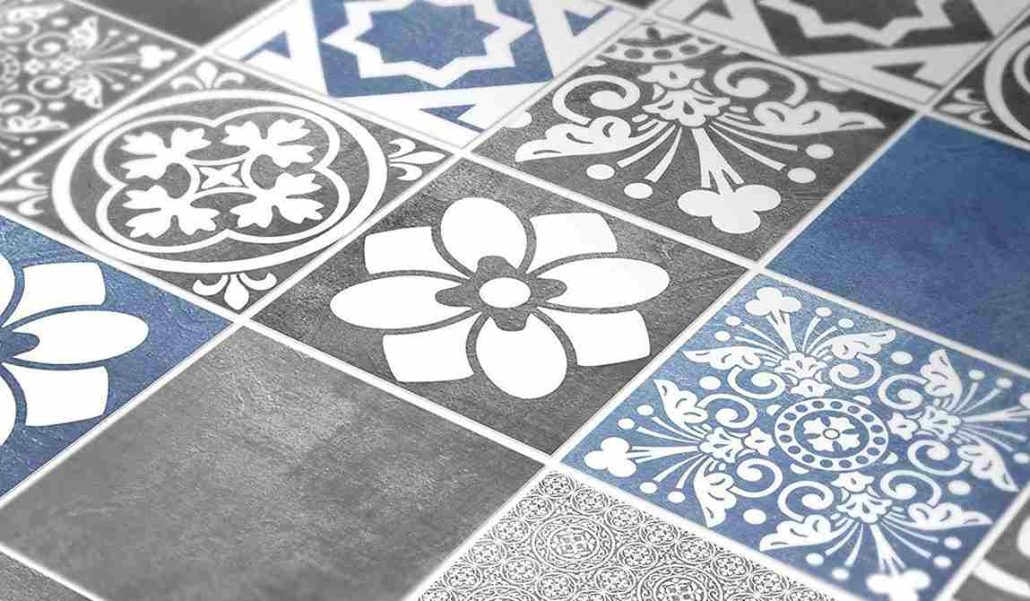
In this article, we have prepared materials for you about wall tiles.
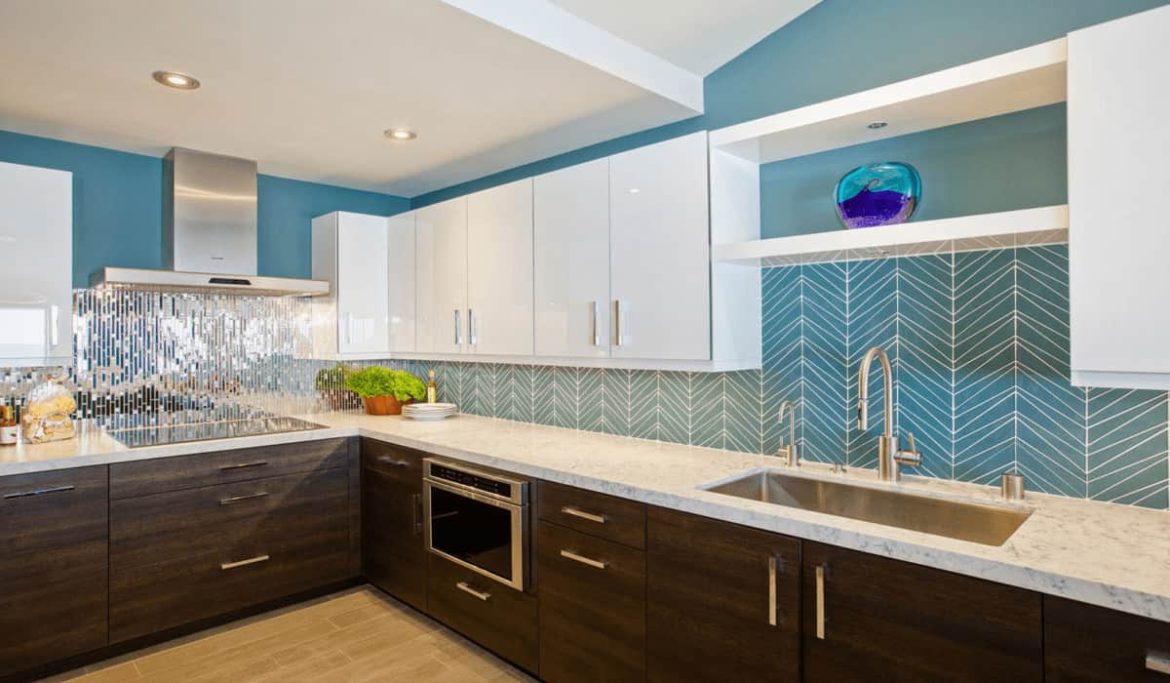
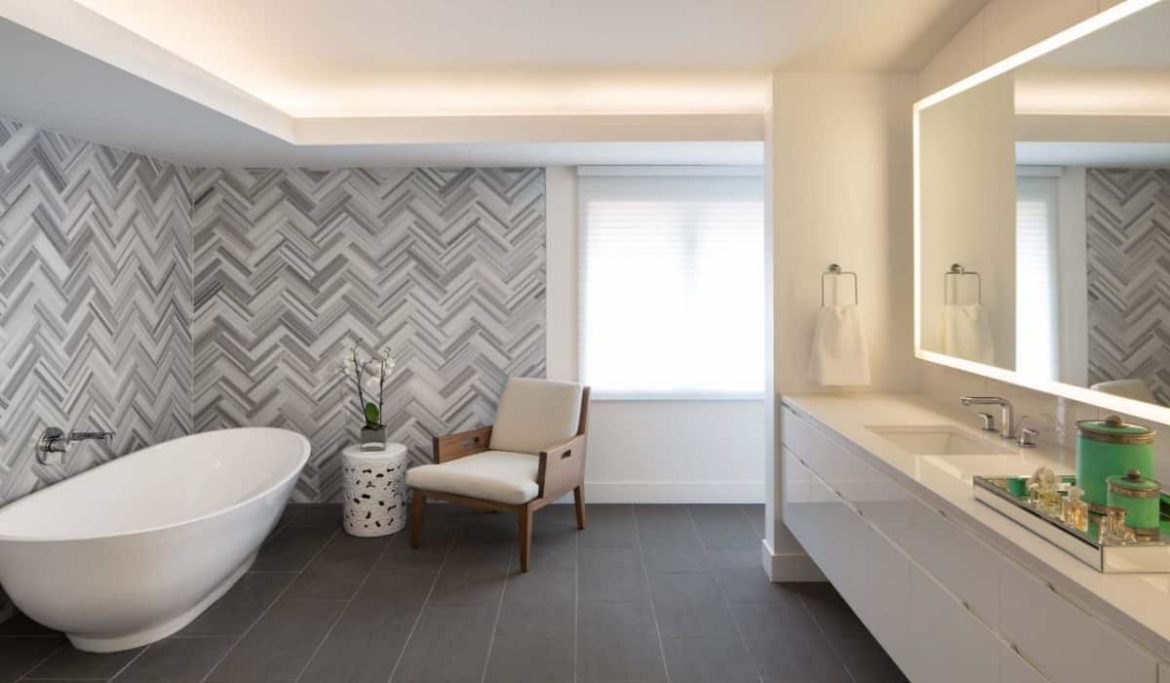
The application of zinc art is to use wall tiles in the house, kitchen, rooms, offices, bedrooms and etc. We give details about their features.
In the following, we will talk about best models. Also, in the continuation of this content, we will discuss how to install tiles and install wall tiles on metal.
How to install zinc tiles wall: Placing zinc tiles on a wall is quite similar to installing ceramic or glass tiles and includes installing steel, aluminum, and copper tiles as well.
Due to the fact that the majority of metal tiles have a ceramic substrate, just the metal lining is applied to the ceramic surface. You might also read this article to learn the processes for installing metal wall tiles.
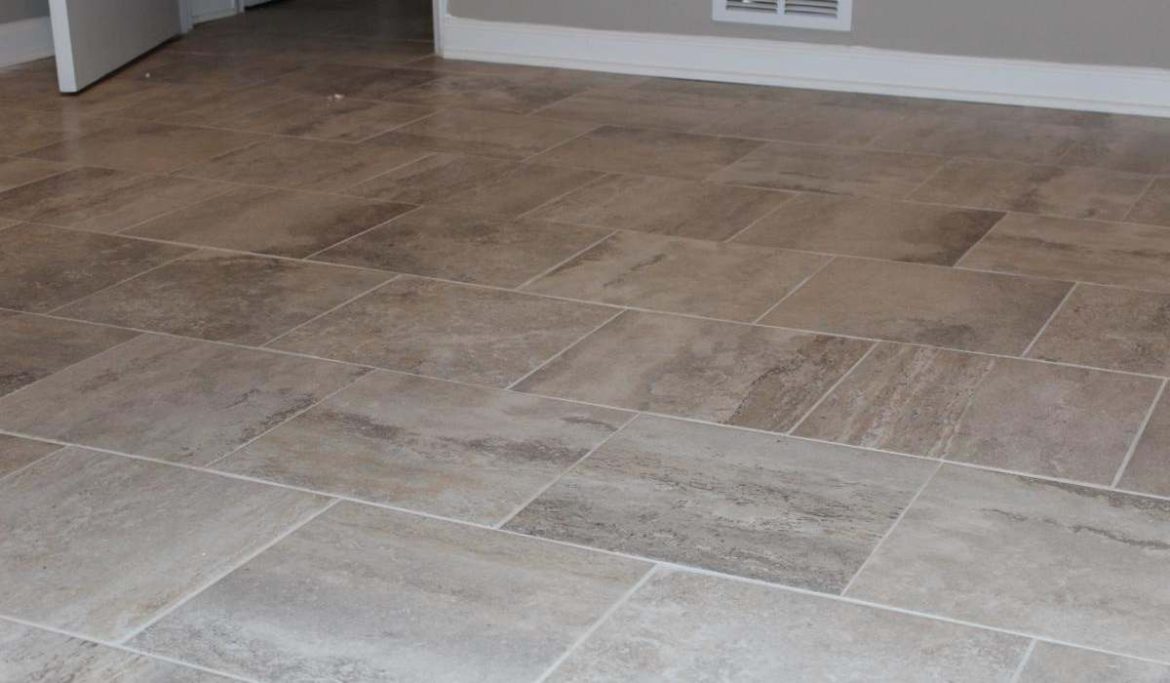
Note that putting metal floor tiles uses the same procedure. The main exception is that metal tile installation on a wall requires a different kind of adhesive than tile installation.
Note: Because metal tiles, especially steel tiles, are metallic in nature, a competent electrician must ensure sure there are no electrical connections in the tile area.
The tools and materials required to install metal tiles
The number of metal tiles needed to completely cover the area must first be determined. (We recommend buying 10% to 15% more than the size you need.)
Prepare enough mortar or tile adhesive for the walls or the floor. The mortars used for ceramic or porcelain tiles work well for this.
Note: Epoxy grout is recommended in order to prevent scratching of the tiles.
V-shaped specialty spatulas (adhesive installation for tiles)
Basic spoon (laying mortar)
A fresh sponge or soft material
Two or three buckets of plastic (for mixing water with mortar)
Utilize an electric tile cutter if you need to remove certain obstructions.
Optional extras include a plastic hammer and a wooden board for better tiling.
Installing metal tiles:
Step 1: Prepare the glue in accordance with the directions on the container, remove it using a flat-sided V-shaped spatula, and distribute it over the surface.
Step 2) Evenly distribute the glue over the surface using the V-shaped portion of the putty knife.
Step 3: Lay the tile boards on either the floor or the wall and gently push them into the glue.
Step 4: Adhere the additional pages with glue. The tiles are also chopped at this point.
Note: The next part will include instructions on how to cut metal tiles.
Step 5) To make sure each tile stays in place, you can use a wooden board and a plastic hammer. The article “How to tile the gap between the cabinets” explains this stage.
Step 6) Wet the protective paper if it is covering your tile. Then, pull it off. If there is plastic covering the tile, simply take it off.
Step 7) Verify that all of the tiles are even after putting in the metal tiles but before the tile adhesive has fully dried.
Step 8) After 12 to 24 hours, remove any extra glue or paper with a sponge or soft cloth. After that, use a moist sponge to clean the tile’s surface.
Step 9) Prepare sand-free mortar or epoxy mortar according to package directions. Then tap the surface of the tiles and lines with a plastic spatula until it is filled.
Step 10) After 15 minutes to 1 hour, use a soft cloth towel or wet sponge to remove excess grout from the tiles (10 minutes for stainless steel tiles) Avoid excessive pressure on the tiles and repeat this 3 to 4 times.
Step 11) After a day of whipping, remove any excess mortar. Use isopropyl alcohol to remove any excess adhesive from the metal tile surface. If some tiles are dark in color, you can use acetone or oil thinner.
How are metal backsplash tiles (either aluminum or steel) installed?
placing the metal backsplash in place The contemporary metal backsplash may be installed on a lovely new surface if you adhere to this simple installation method.
This tile may be installed using the same method as standard tiles.
The sole distinction is that the glue used to affix the floor tiles and the metal tiles to the aquarium wall or slate is not the same.
Tools and supplies required for installing metal backsplash tiles
grouting putty knife, 32/5″ (other similar V-groove trowel sizes will work)
pulp of floating rubber.
How are metal backsplash tiles (either aluminum or steel) installed?
Purchase enough copper mosaic tiles, aluminum tiles, or stainless steel tiles to cover the space. It is advised to purchase 10% more tiles.
Purchase enough cement or adhesive to align the floor and the wall.
Make enough grout so that it covers the tile area.
For metallic or non-metallic tiles with 0-1/8 inch joints, use unsanded grout; for non-metallic tiles with 1/2 inch joints, use only sanded grout. Use 2 -1/8 in.
We advise using non-abrasive grout if your tile is metallic or has a mirror or gloss finish since sandpaper during installation might scratch such surfaces.
Prepare two buckets: one for water and one for mixing mortar and grout, and a clean sponge or dry cloth.
An engine blockage
A hammer and a flat piece of wood measuring around 2×4 and 6 to 12 inches long are optional.
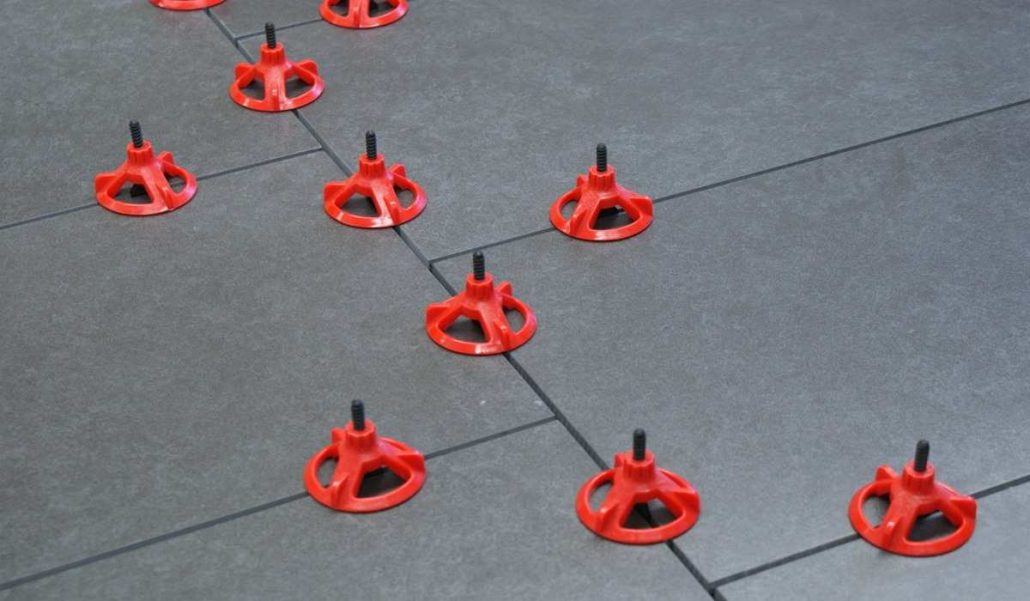
Steps for installing tiles
Prepare your glue or mortar. Using a grade V trowel, apply the glue firmly and thoroughly to the surface.
To achieve a suitable, equal depth, move the V-cut spreader’s edge over the grout or glue.
Join the marble sheets with glue or mortar.
The next sheets are joined by a grout seam (gap).
Optional: To check if the tile slabs are even, lightly tap a chunk of wood against them.
If the tile has a protective paper cover, moisten it several times and carefully peel the skin off after 10 to 15 minutes. Peel off the protective material if it has been placed over the tile.
Before applying glue or sealer to the project, make any necessary changes to guarantee a perfect connecting line.
Use a non-abrasive nylon brush to remove any extra glue or paper that has remained on the tile after 24 hours, then wipe it down with a damp sponge to clean.
Your comment submitted.