The ceiling decorative tile has become popular for large areas in the house and offices. For these places, 24×24 is the customer’s choice. An ultimate installation guide is what a DIYer needs when wanting to install these panels.
Ceilings receive less attention than walls or other surfaces. Ceilings, however, have real design potential. While most ceilings tend to be painted flat, this isn’t the only way to coat a ceiling. Ceiling tiles can give a room a unique feel. Not only that, but ceiling tiles can hide cosmetic flaws in existing ceilings.
Drop Ceiling Tiles
Drop ceiling tiles are placed in a metal grid and hang a few inches below the existing ceiling. Ceiling tiles can effectively cover major defects in existing ceilings.
Surface Mount Adhesive Ceiling
Surface mount ceiling tiles made of fiberboard or thermoformed styrene glue are attached directly to existing ceilings. The ceiling should be in good condition as any surface imperfections will result in ceiling tiles.
Install ceiling tiles
- Mark the planned height of the suspended ceiling
Step onto the ladder and measure from the existing ceiling to the desired drop ceiling height. For many drop ceilings, you must place the grid at least 3 inches below the existing base ceiling; see ceiling instructions. Mark with a pencil. Measure at two opposite ends of each of the four walls.
- Draw a perimeter line around the room
Draw a chalk line for each of the four walls from start to finish. Have your assistant hold one end of the alignment wire while holding the other end. Pull tight, then break the thread.
- Install the wall rails
Use the stud finder to find all the studs. Use a pencil to mark high on the wall, above the future ceiling height. Use a hammer and nails to drive the wall track up to the studs. The track should match the level of the chalk line.
- Locate and place the central main track
Using a tape measure, find the center of the room on the opposite wall. The main track (often called the main tee) runs along this axis.
- Locate and Place Side Main Rails
Using the center main rail as a guide, install additional main rails on either side. Each additional length should match the width of the ceiling tile. The last length of the main track should be the width of the ceiling tile or less.
- Install and Bend the Hanger Wire
Use the Stud Finder to locate ceiling joists. Drive the hook screws (provided with the kit) directly into the joists above the main track or within 4 feet of each other. Thread the hanging wire from the kit through the eye hook. Use pliers to bend the wires at a 90-degree angle and push them through the holes in the main rail.
- Find the cross track (tee)
Position the cross rail (or tee) at a 90 degree angle to the main rail. The crosspieces should be placed as far apart as the length of the ceiling tiles.
- Install the ceiling
Standing on the ladder, lay the ceiling tiles into the suspended ceiling structure from above. Each tile fits into its section of the grid.
Installing Surface Mount Ceiling Tiles
- Determine the number of tiles needed
Measure the size of the room (length times width) to arrive at this area. Round off the number of ceiling tiles. For example, if the space is 98 square feet, round up to 100 and add 10% waste.
- prepare the ceiling
Remove any dents or blemishes from the ceiling. If you are covering a textured or popcorn-style ceiling, eliminate the protrusions. If the textured ceiling is not painted, cover it with a layer of primer.
- Begin within the center of the room
Using a tape measure and a pencil, determine the center of the room. Draw a “+” shape with chalk lines. The “+” legs should be perpendicular to the wall closest to each leg.
- Apply the adhesive
Lightly mark the center of the four sides of the first tile with a pencil. It is better to apply construction adhesive to the back of the tile.
- tile the ceiling
Apply to the middle of the ceiling, aligning the pencil marks with the chalk lines. Press the paint roller firmly against the ceiling, rolling it back and forth several times. When you are happy with the tile bonding, continue to follow this line until you reach each wall.
- cut ceiling
In the end, use a utility knife or scissors to cut the ceiling tile. Continue several rows until you reach the end of the room.
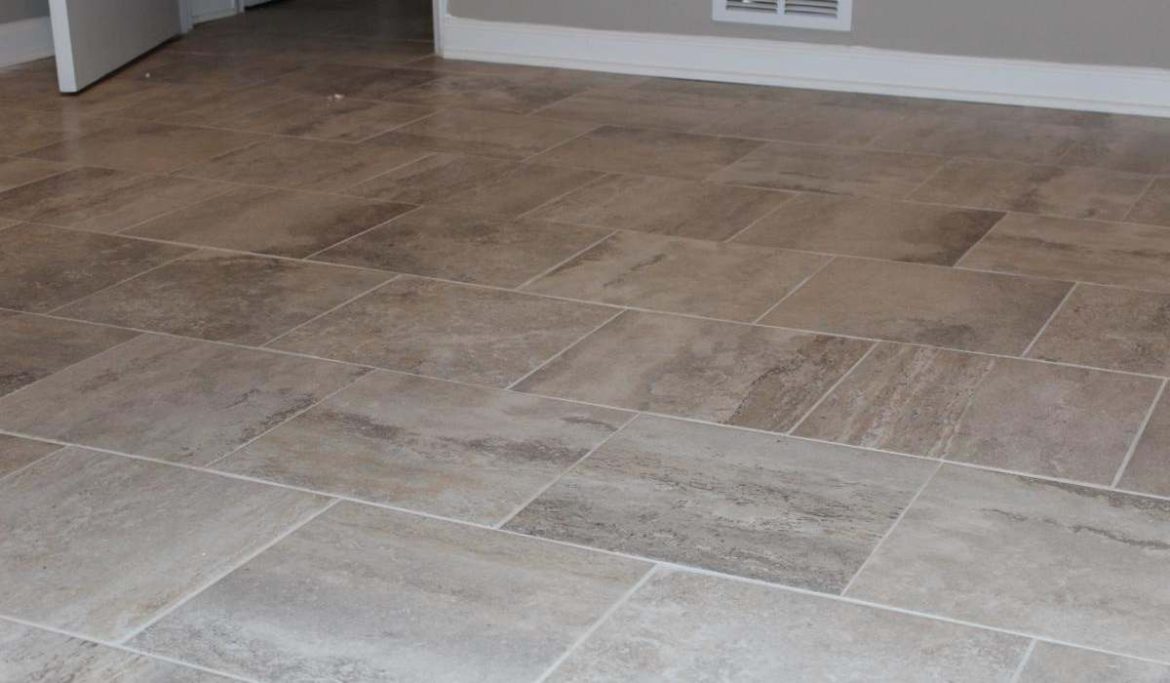
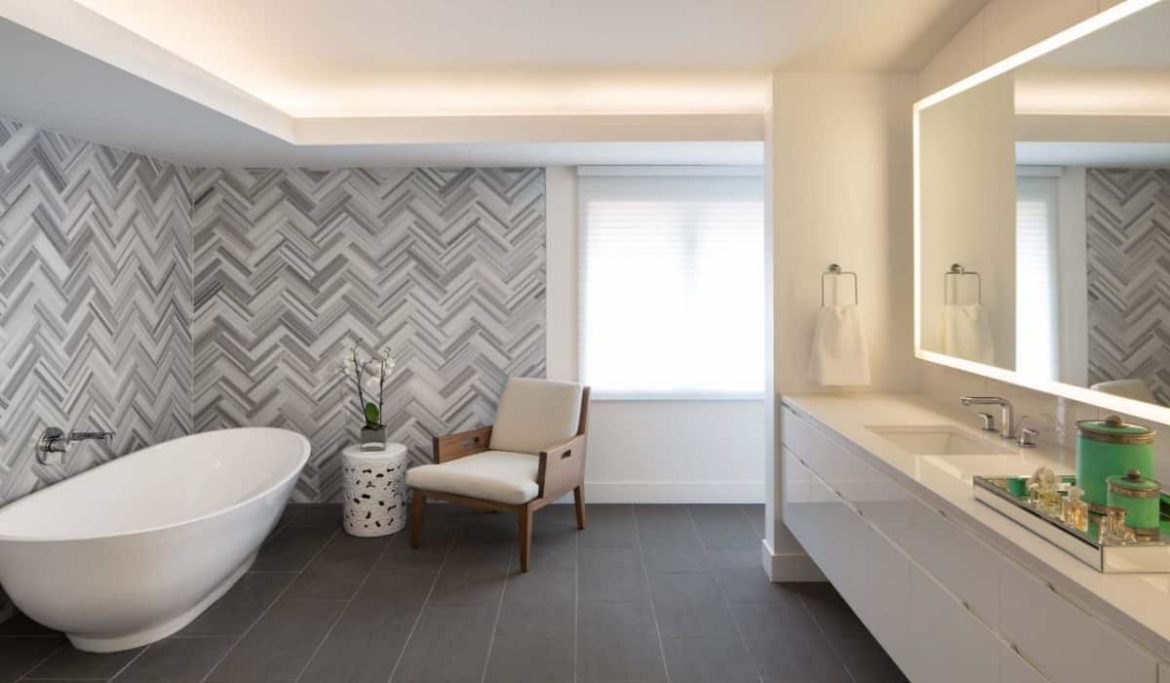
Large tile installation guide
The installation of large format tile has always been a daunting task. We will guide you in this article to solve this problem. For proper bond, an inter-coat mortar should be used when installing tiles over 20″ x 20″ in length, large rectangles, or thicker than normal.
A butter-backed tile of this nature will also ensure adequate body coverage during installation.
Step 1: Surface preparation
Tile can be installed over most structurally sound substrates as long as they are clean, smooth, dry, and free of wax, soap scum, and grease. All damaged, lose or uneven areas should be repaired, patched, and leveled.
Remove all moldings, trim, appliances, etc. that could interfere with the installation.
Step 2: Layout
Start by marking the center points of the four walls. Draw a chalk line between the center points of the opposite walls, which will meet in the center of the room.
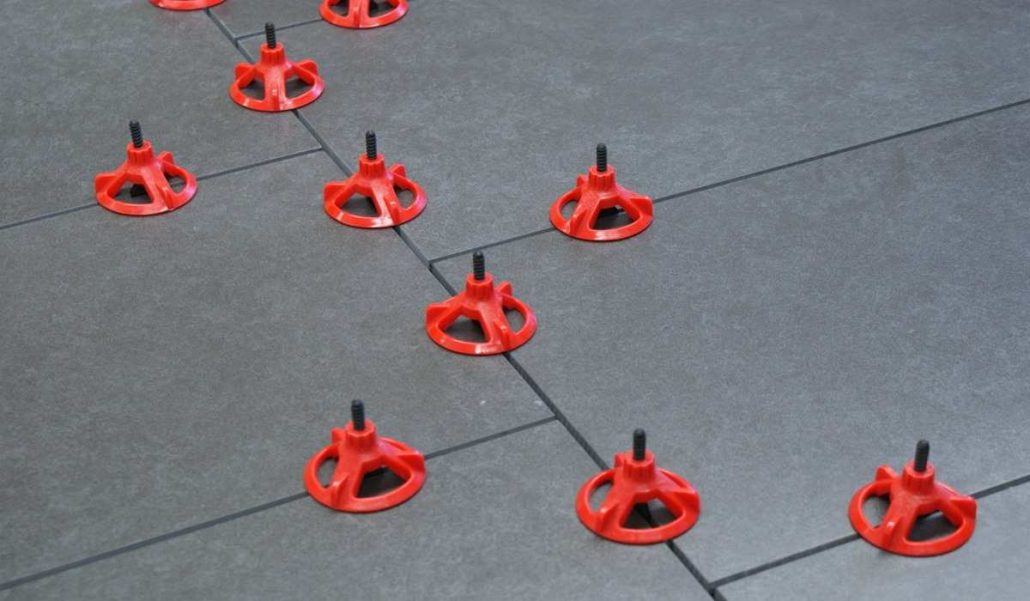
Make sure they are perfectly square and adjust them if necessary. Then lay a row of loose tiles along the center line in both directions, leaving room for an even seam (using tile spacers).
Step 3: Apply the adhesive
Choose the correct adhesive for the substrate you are using. Carefully read and follow all instructions and precautions on the adhesive or mortar packaging. Mix just enough to use within 30 minutes.
Using the type of trowel recommended on the adhesive package, use the flat surface of the trowel to apply a 1/4″ coat to the surface of an area of the grid. Do not cover line guidelines.
Then use the notched side of the trowel to hold the trowel at a 45 degree angle to comb the adhesive into the ridges.
Step 4: Cut the tile
Carefully measure the tile to be cut and mark it with a pencil or marker. Use a tile cutter for straight or diagonal cuts, pliers for curved cuts (cut small pieces for best results), and a bandsaw for curved cuts along the entire length.
Step 5: Configure tiles
Shade changes are inherent in tiles – mix tiles from multiple cartons as you install them for a blended effect. Start installing the tiles in the center of the room, one at a time.
Complete each puzzle some time recently moving on to the following. Begin with the primary tile within the corner of the grid and work outward.
Use a slight twisting motion to lay one tile at a time. Do not slide the tile into place. Finally, install the perimeter tiles in each grid, leaving a 1/4″ gap between the tiles and the wall.
Any rectangular porcelain should not be laid in a continuous bonded pattern, with no more than 1/3 overlap; joints should be widened to 3/16″ and a large unit porcelain mortar should be used. Do not walk on tiles until they are set (usually within 24 hours).
Step 6: Grout Joints
Generally, it takes about 24 hours before grouting (please refer to the adhesive packaging for details). Carefully read and follow all directions and precautions on the grout package.
Just enough to use in about 30 minutes. Remove the tile grout and apply the grout to the tile surface, pressing into the grout with a rubber float or rubber scraper. Tilt the coast to a 45 degree angle.
Wait 15-20 minutes for the grout to set slightly, then use a damp sponge to remove grout residue from the surface and smooth the grout joints. Rinse the sponge frequently and change the water as needed.
Allow drying until the grout hardens and forms a mist on the tile surface, then buff with a soft cloth. If necessary, rinse again with a sponge and water.
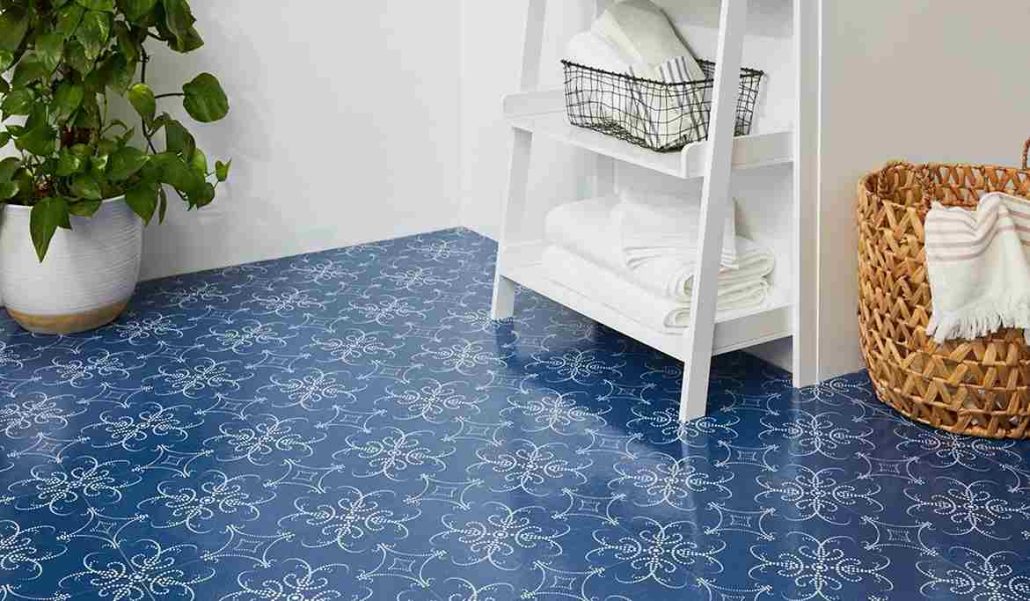
decorative ceiling tile for large areas
using decorative ceiling tile for large areas can give you a mesmerizing look at your house or office. If you are a homeowner or a contractor, does the need to repair or replace your ceiling seem like an inopportune burden? Honestly, it’s not necessary – especially with all the solutions available today.
As long as you are well prepared before you jump into the project and make sure everything is checked, you can get the job done in no time.
Once you’ve done the prep work, that’s when the fun begins. Plastic ceiling tiles are a lightweight and inexpensive alternative to standard tin tiles. They are embossed in many different patterns and styles, giving you a plethora of options to choose from.
They can also be used to give your ceiling a three-dimensional geometric look. Like most tiles, plastic ceiling tiles are easy to install, so there’s no need to hire a professional, especially if you have some DIY experience.
The tiles can be used for suspended or nailed ceilings, and you don’t have to worry about damaging them. Also, you can paint with the same finish as the tin ceiling tiles. Perhaps the biggest advantage of choosing plastic tiles is that they are one of the cheapest options on the market.
If you’re looking at your ceiling and know it’s in dire need of an update, but unfortunately you’re on a budget, then plastic ceiling tiles are your best bet. Don’t be fooled by the fact that they are cheap and easy to install.
Just because the material is one of the cheapest options doesn’t mean you’ll end up with a cheap looking ceiling. Some of the best ceiling designs are plastic.
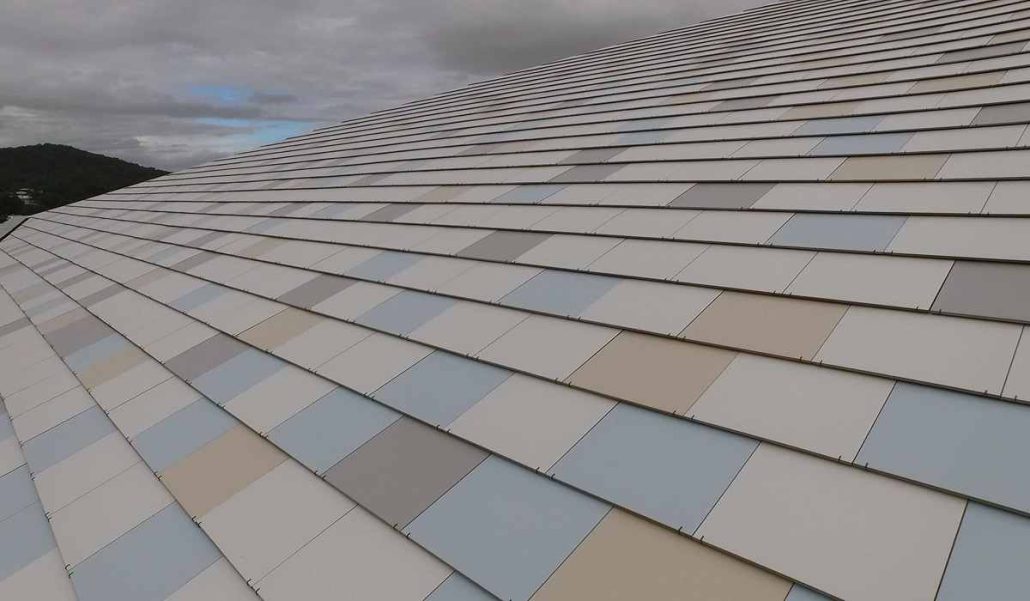
By choosing a tin ceiling, you have the opportunity to beautify your home or commercial space. Despite the name of this ceiling tile, most tin ceiling tiles are made of aluminum, copper, or brass.
To install them you will need to nail them and overlap the edge of each panel with the next – although they can also be used as ceiling tiles.
These are more difficult to install than plastic tiles, but most homeowners can still install tin ceiling tiles, so if you’re confident in your ability to do the job, give it a shot. However, you should be aware that if you have scratched or dented panels, they can be repaired using a body repair compound and etching.
Much like plastic ceiling tile options, installing polystyrene tiles is one of the less expensive methods. Customers who have purchased polystyrene ceilings often want to cover ugly popcorn ceilings.
If that sounds like you, this option is definitely worth considering. Styrofoam tiles can be glued to dotted ceilings, concrete, drywall, plywood, and even directly to popcorn ceilings. Foam ceiling tiles are lightweight and soft to the touch.
If you plan to paint these tiles, you can use most water-based latex paints. These tiles look great after a coat of paint and they still look authentic. Even if you stand a few meters away, you cannot tell that the tile is a foam product.
If you’re considering installing these tiles yourself, you’ll be happy to know that they’re easy to cut and stick to any surface. It is undeniable that the leatherette ceiling has a striking resemblance to natural leather.
These tiles not only make the room look spectacular but also soundproof everything around it. If you need extra soundproofing in an area that is too noisy, consider faux leather tiles, as they absorb noise.
These tiles also work well on walls if you desperately need to soundproof a room.
That’s why many cinemas, restaurants, and game rooms are turning to this particular option: they eliminate a lot of environmental noise. So with that in mind, you can too! The added benefit of installing leatherette ceilings is that they are fire resistant and 3D designed.


Your comment submitted.