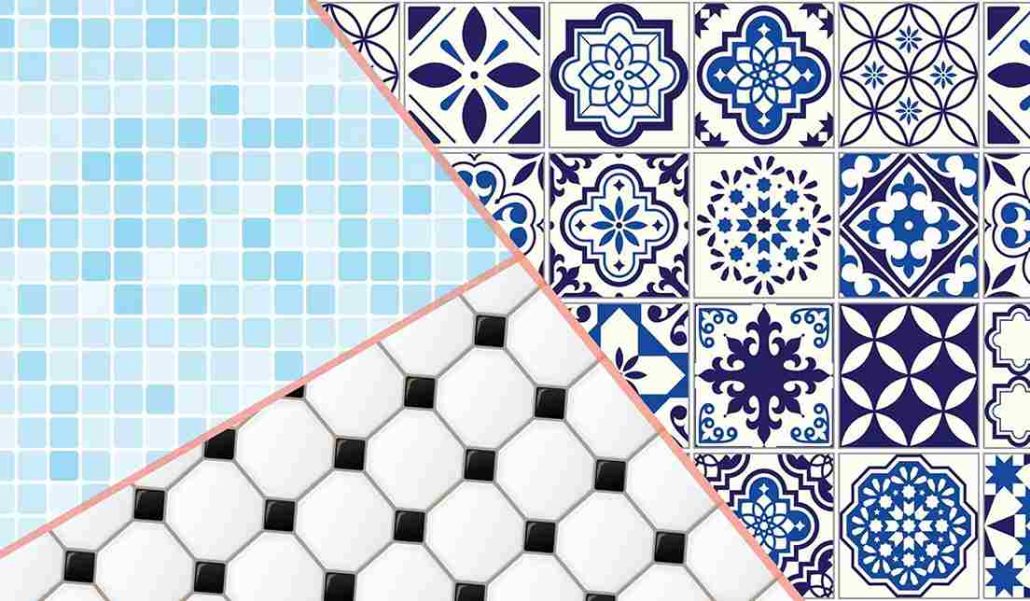
When the kitchen, bathroom, or another room, such as the basement, needs a makeover but you don’t have the time or money to tile the floor or walls, consider using peel-and-stick tile.
The installation process is easy enough that the majority of DIYers can complete it without assistance from a professional. Peel-and-stick tiling may be made from vinyl, glass, and even metal.
These tiles have an adhesive backing that clings to a variety of surfaces, making floor or backsplash installation quick and simple. While you save up for a major renovation, small, cost-effective modifications can help tide you over.
For instance, we purchased a home with an unpleasant kitchen since the price and location were great. Instead of immediately beginning renovations, we lived in the house for a while (excellent advice for avoiding renovation regrets, BTW).
During that time, we realized that we wanted a much larger remodel than we had originally planned, and, more importantly, that we would rather pay down our mortgage first.
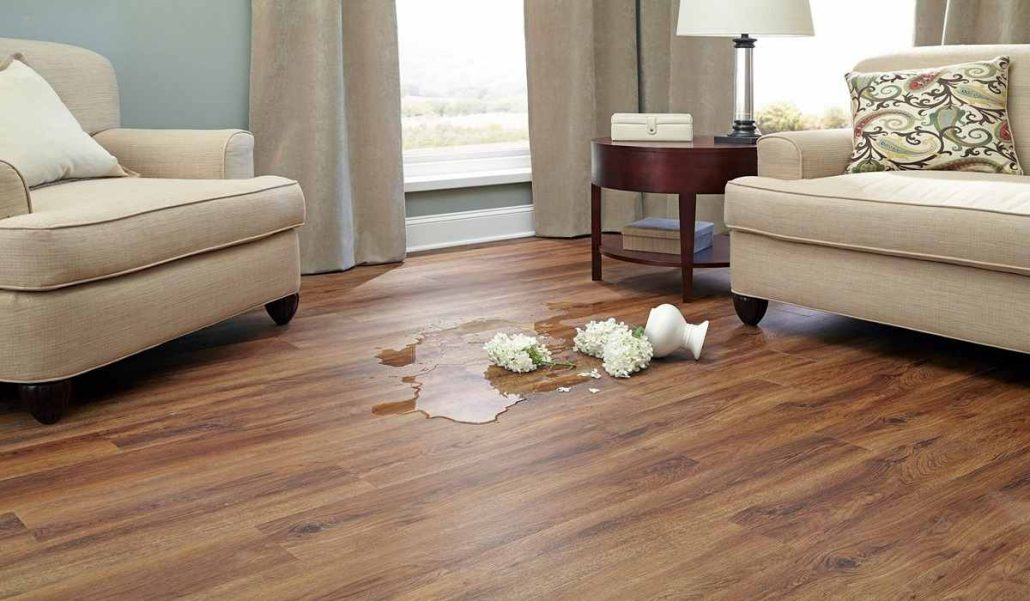
However, if the surface is not appropriately prepared or the space is not properly measured and laid out, the powerful adhesive on the back of the tile can cause problems. Broken or cracked tiles, tiles that are twisted, and mismatched patterns are examples of these issues.
Continue reading to discover ways to avoid these issues and to obtain extra guidance on how to use peel-and-stick tile.
HOW TO INSTALL WOOD PANELING USING PEEL-AND-STICK ADHESIVES
DO prepare the wall surface appropriately.
Before tiling a wall or floor, the surface must be well-prepped. On a smooth, clean surface, the tile will adhere.
Using sandpaper or a scraper, remove any old adhesive or protrusions that may prevent the new tile from laying completely flat, and then degrease the wall or floor as necessary.
Peel-and-stick tiles can be installed on drywall that has been painted, existing linoleum, porcelain, concrete, and a range of other common wall and floor surfaces.
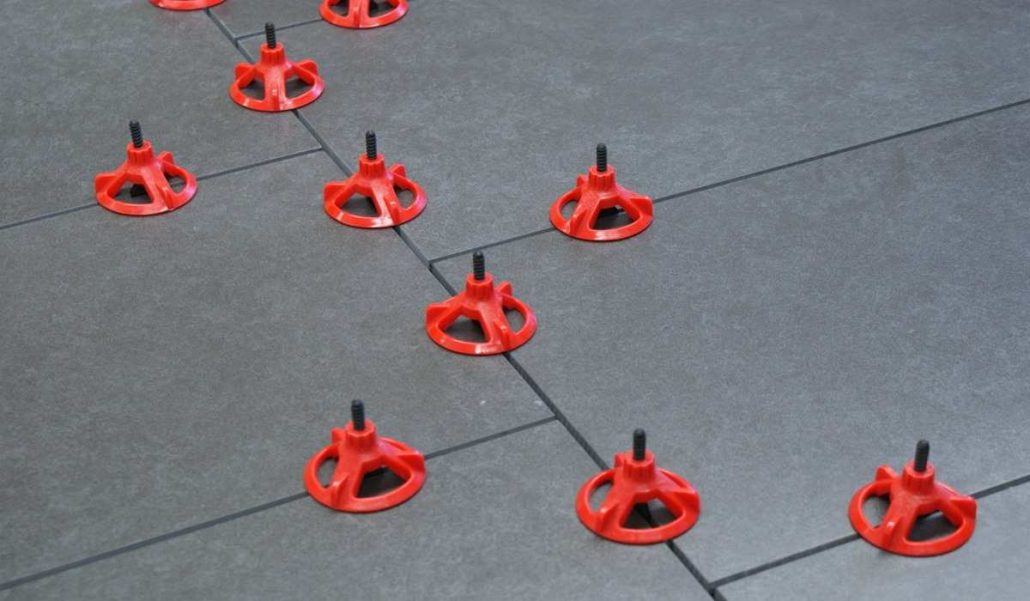
Using peel-and-stick tiles to prepare the wall
If the tile is being installed over ceramic or marble, the grout joints must be flush with the tile’s surface.
If not, the peel-and-stick tiles will adhere to the indents, giving in an uneven appearance. Those tiles that do not stick to the indents will lay flush against the wall, but there will be a gap between the tile and grout seam.
These holes can provide a breeding ground for mold and mildew and cause tiles to fall off the wall. Before placing the new tile, you should fill the grout lines with more grout to ensure a clean and smooth surface.
DO NOT REMOVE THE BACKING PAPER IN ITS ENTIRETY AT ONCE.
The backing paper is typically seen on the reverse side of peel-and-stick tiles. Although it may appear acceptable to just remove the backing and place the tile like a sticker, it is recommended to remove only half of the backing paper. The reason for this is that arrows on the backing paper indicate the tile’s orientation.
For optimal results, the tiles should be installed according to the directions on the backing paper, ensuring that each tile is installed in the same orientation. If one tile is orientated differently than the others, it will certainly stand out, despite the fact that some designs are identical on both sides.
The backing paper also protects the adhesive; therefore, it is recommended to remove the backing paper from one side of the tile prior to installing it in the proper location and orientation.
Continue removing the paper when the edge touches the surface until the entire back is exposed and the tile is laying flat on the wall or floor surface.
DURING installation, DO NOT overstretch the peel-and-stick tile.
After measuring the surface area for the backsplash, wall, or floor, determining the exact arrangement of the tiles, and cutting them to the correct size and shape, the process should be relatively straightforward. Simply peel and adhere the tiles in the correct location and orientation based on the plan, and the end product should be precise as desired.
However, some do-it-yourselfers exert excessive force while bending, squeezing, and flexing the tiles during installation, causing the tiles to stretch. When tiles become stretched, they occupy a larger area than anticipated, creating installation difficulties.
Because the stretched tile is susceptible to breaking and does not adhere to the established pattern, it must be removed prior to the completion of the project. If you decide to leave the stretched tile in place, expect it to detract from the overall aesthetic appeal and quality of the project.
Don’t forget to stock up on extra peel-and-stick tile in case of future repairs.
Even if you return a few weeks later, there is no guarantee that you will find the same sort of tile, as tile manufacturers and shops constantly update available color palettes, patterns, and tile thicknesses. Therefore, purchasing additional tiles is prudent.
Having around 5% more tiles than you need to complete the project maintains color and pattern consistency in the event that any tiles are pulled off, cracked, chipped, or otherwise damaged.

If the current tile is damaged, reheat the adhesive with a blow dryer before gently peeling off the damaged tile and preparing the surface for the installation of the new tile.
Generally, small fixes can be completed without relocating or reassembling the surrounding tiles. Simply ensure that the replacement tile is oriented correctly so that the repair blends in with the existing pattern.
To facilitate removal, apply gentle heat.
Replace old peel-and-stick tiles before installing a new floor, backsplash, or wall to ensure a clean, smooth surface.
If newly installed tiles become loose, chipped, or cracked, they should also be replaced; however, the adhesive on the back of the tile might make removal challenging. To prevent damage to the wall or floor beneath the tiles, apply gentle heat to each tile using a heat gun or hairdryer.
The heat softens the tile and loosens the adhesive, facilitating the removal of the tile from the wall. A putty knife can be used to cut through thick adhesive without damaging the wall or floor, but any remaining adhesive must be sanded or scraped away before the new tile can be installed.
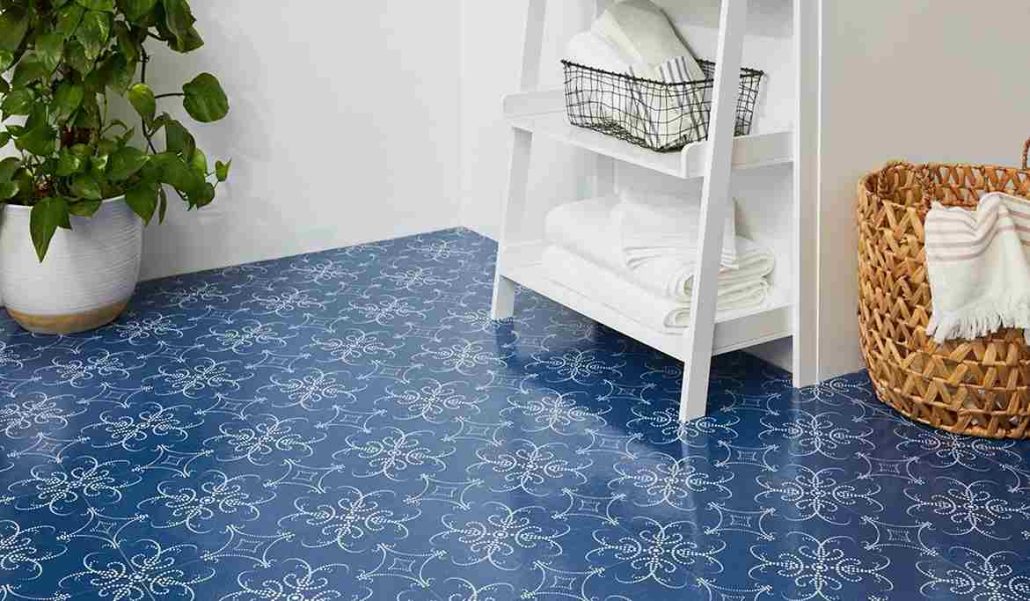
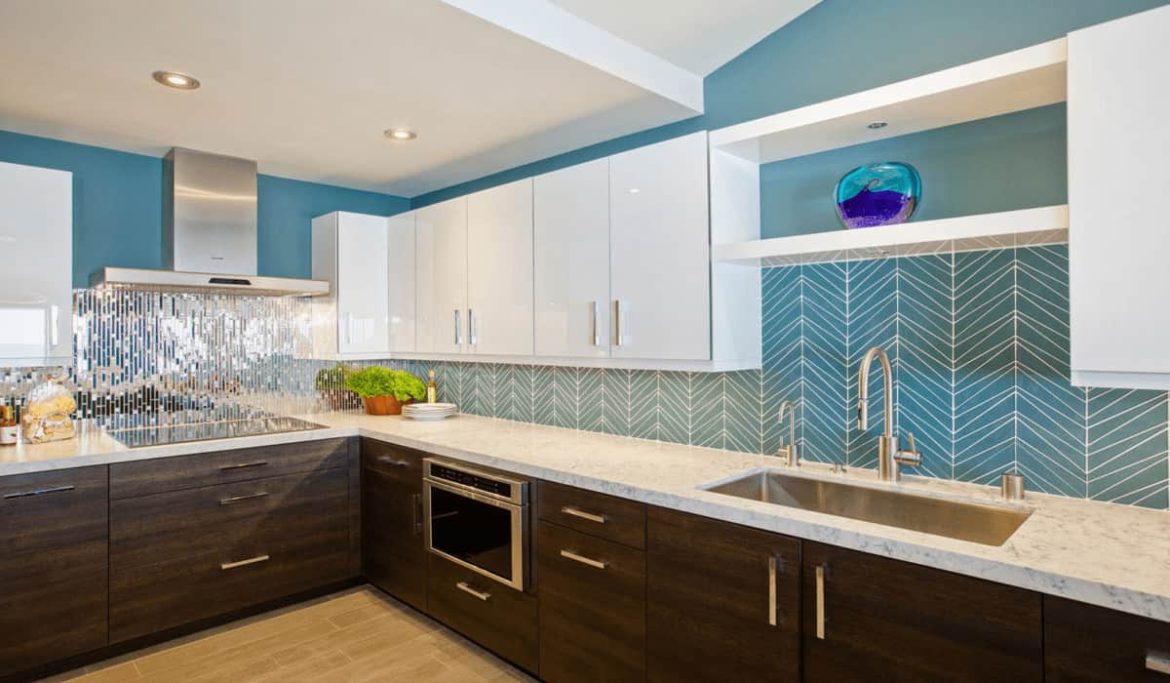
Our selection of self-adhesive tiles is available in a vast array of colors and patterns, and they are simple to install, long-lasting, and easy to clean, making them a perfect option for the kitchen or bathroom of a family home.
Their failsafe design resembles ceramic tiling while delivering the advantages of a straightforward installation. From vintage-inspired patterns to marble effects, these vinyl and PVC self-adhesive tiles will invigorate your interior design.
Your comment submitted.