Ceramic tiles are a popular floor covering for the bathroom, kitchen, and hallway due to their great water resistance, durability, and simplicity.
Despite the fact that many homeowners employ professional tile-setters, ceramic floor tile installation falls under the category of DIY projects that may be completed reasonably and with relative ease.
But how should the homeowners lay them? Preparation is the key to installing floor tiles successfully. The actual process of tiling a floor using mortar and grout is uncomplicated if you have a firm subfloor, a sensible layout, and all the necessary tools and materials.
Prior to beginning
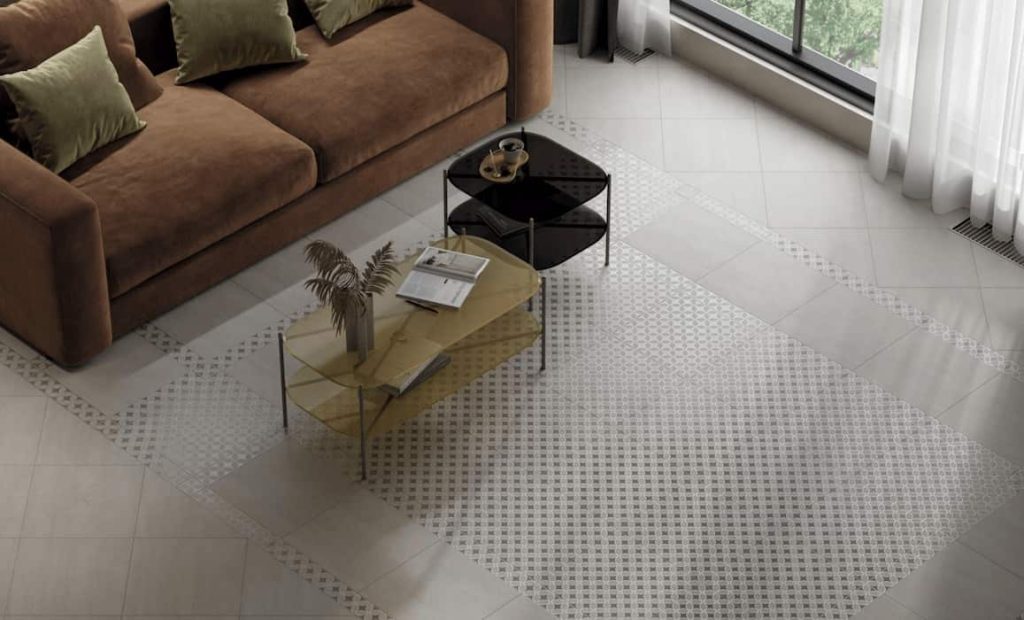
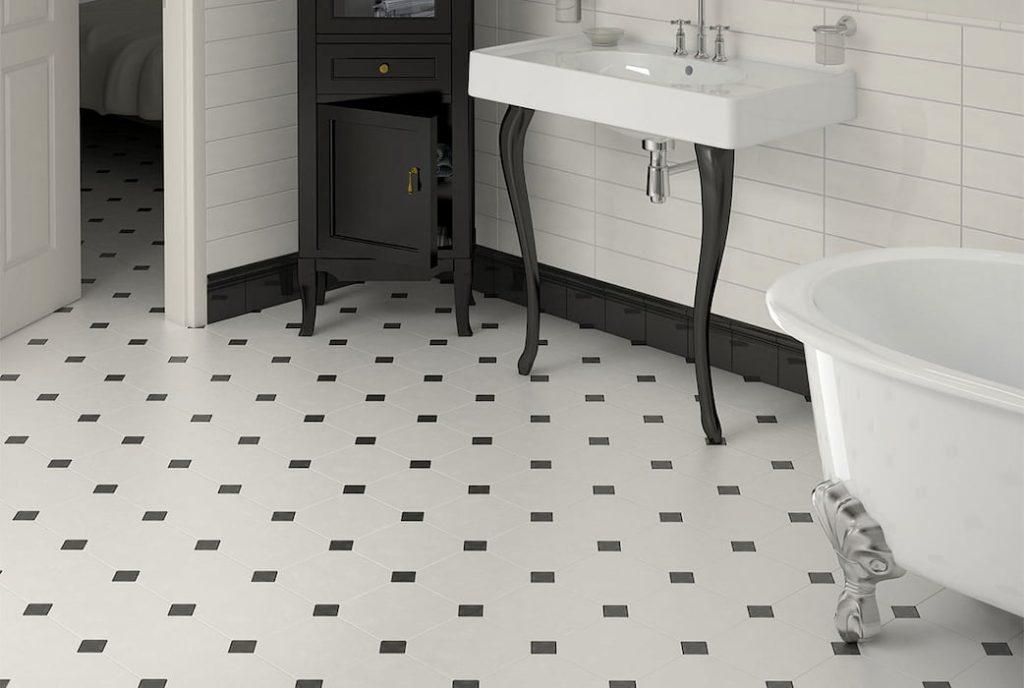
The number of tiles you must purchase will depend on the tile pattern. Because fewer tiles must be cut, a grid design is easier to plan and install. Despite the difficulty of cutting tiles on the diagonal, diagonal tiles help visually expand confined spaces.
Add 15 percent to the area of the room to account for waste. Alternatively, you can use an online tile calculator to obtain an exact sum and experiment with other tile layouts. Ceramic floor tiles are available in a broad variety of styles and range in price for designer porcelain tiles.
However, since professional installation can be costly, you can save a significant amount of money by doing it yourself. Ensure that the tiles you purchase are rated for floor use. Some tiles are designed exclusively for use on walls and are not durable enough to be laid on floors.
Before installing the tiles, additional waterproofing steps can be taken by applying a roll-on chemical waterproofing agent.

Instructions
Prepare the substrate.
Ceramic tile is sensitive on its own, but when set on a firm, stiff surface that is free of bumps and gaps, it becomes more robust. In general, concrete slab flooring can be tiled directly over; however, cement board is recommended for wood-framed floors.
Install the cement board panels by putting them on thin set mortar and screwing them to the flooring at 8-inch intervals. The seams should be filled with thinset after being taped with fiberglass seam tape.
What is Cement Board, exactly?
A cement board, also known as a cementitious backer unit (CBU), is a substrate that is perfect for ceramic tile installation.
Put the Tiles to Bed
All walls should have their centers measured. Draw a chalk line between each of the two opposing walls to create a cross pattern. On each arm of the cross, line up tiles and tile spacers in a straight line without applying grout.
It is preferable to avoid placing small, fragmented tiles against a wall since they can appear out of place.
This cross-shaped assembly can be moved in any direction if necessary to ensure that each tile bordering a wall is at least half the size of a standard tile. To keep track of which tiles belong where arrange the tiles neatly when you pick them up.
Spread out the Mortar
Place a small quantity of thin-set mortar on the cement board using your margin trowel or the flat side of your notched trowel.
Spread the mortar throughout the surface while holding the flat side of your notched tile trowel at a 45-degree angle, ensuring that it reaches beyond the tile’s edge.
Using the notched side of the same trowel, comb the thin-set in straight lines while maintaining the same 45-degree angle and firm contact with the cement board. The notches on the trowel automatically regulate the amount of thinset applied to the surface.
Set up the Tile
As you carefully press the tile into the thinset, twist it back and forth to press it deeper into the moist thinset. The objective is to fill in any voids and smooth out any ridges in the mortar.
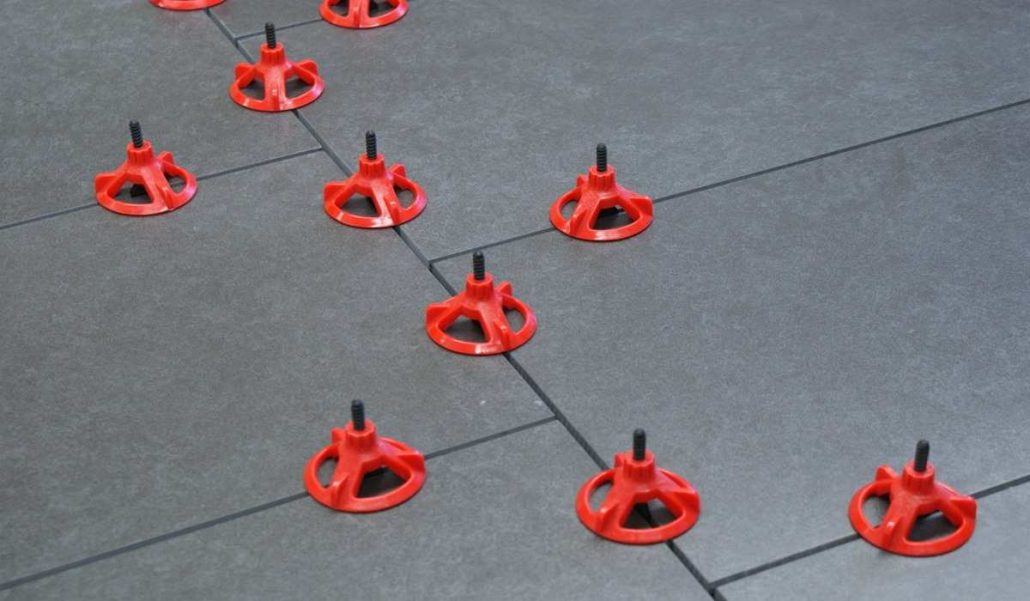
Periodically, lift a tile to inspect the back for complete coverage. To guarantee equal spacing, use tile spacers in the corners as you proceed from one tile to the next. There should be a 1/4-inch expansion space between chairs, cabinets, and other large-room components.
These areas should not be filled with mortar. To check for level and prevent lippage between tiles, place the bubble level over many tiles. Tap the tiles lightly with the rubber mallet to level them.
Trim the Tiles’ Corners
A rail tile cutter can efficiently and economically separate a small number of tiles for cutting. The sides that are uneven and snapped should be positioned against the wall, against the baseboards.
To produce perfectly straight cuts, acquire or rent a wet tile saw. With the tile nipper, only make non-linear cuts, such as those around pipes or toilet bases. Wear safety glasses when cutting tiles, regardless of the method, to protect your eyes from splinters.
Scrub the Tiles
After removing the tile spacers, press the grout into the tile seams using the rubber float. Perform tasks in small portions. Then, while maintaining a 45-degree angle, firmly slide the long edge of the float across the tile seam.
To avoid pulling grout from the seam, move diagonally. Refill the grout pail with any remaining grout. After a surface has cured for approximately one hour, remove any excess grout by scrubbing the grout lines in a circular motion with a sponge soaked in clean water.
Eliminate the Grout Fog
On the surface of the tile, a milky-white grout haze will persist. After the tile has completely cured, remove the grout haze with a sponge and water. The sponge should then be soaked in a solution of 3 ounces of haze cleaner per gallon of water, or as instructed by the manufacturer. Use this solution to remove the haze from the tile’s surface.
Secure the Grout
If grout is not adequately sealed after drying, it will absorb moisture. Seal the tile grout either individually or by spraying the entire tile surface with a brush applicator and removing any excess sealant from the tile faces.
Before utilizing the tile, observe the drying and curing times specified by the manufacturer. This could take anywhere from four hours to two days. The installation of tile flooring is one of the most basic DIY home improvement projects.
The general plan is to apply adhesive, then set tile, grout tile, and finally seal the grout. Just that, with no hassle or bother!
If this were the case, however, everyone would install their own tiles, rendering professionals like your pals at The Good Guys superfluous. Installation of tile flooring is the apex of home improvement activities when viewed seriously.
As you peel back each layer to reveal the next, each is susceptible to DIY errors. It is essential to understand all of the processes involved in your tile project, as well as any potential issues.
Numerous simple do-it-yourself tiling projects are often acceptable and deliver the desired results. The majority of individuals who have attempted a do-it-yourself tiling project would admit that while they were satisfied with the results, it would look better (and be completed faster and with fewer tears) if it were performed by a professional.
The majority of people would also agree that it needed more labor than anticipated and did not ultimately save them much money.
Since installing tile flooring involves some DIY knowledge, we always recommend dealing with our professional installer, to achieve professional results.


Your comment submitted.