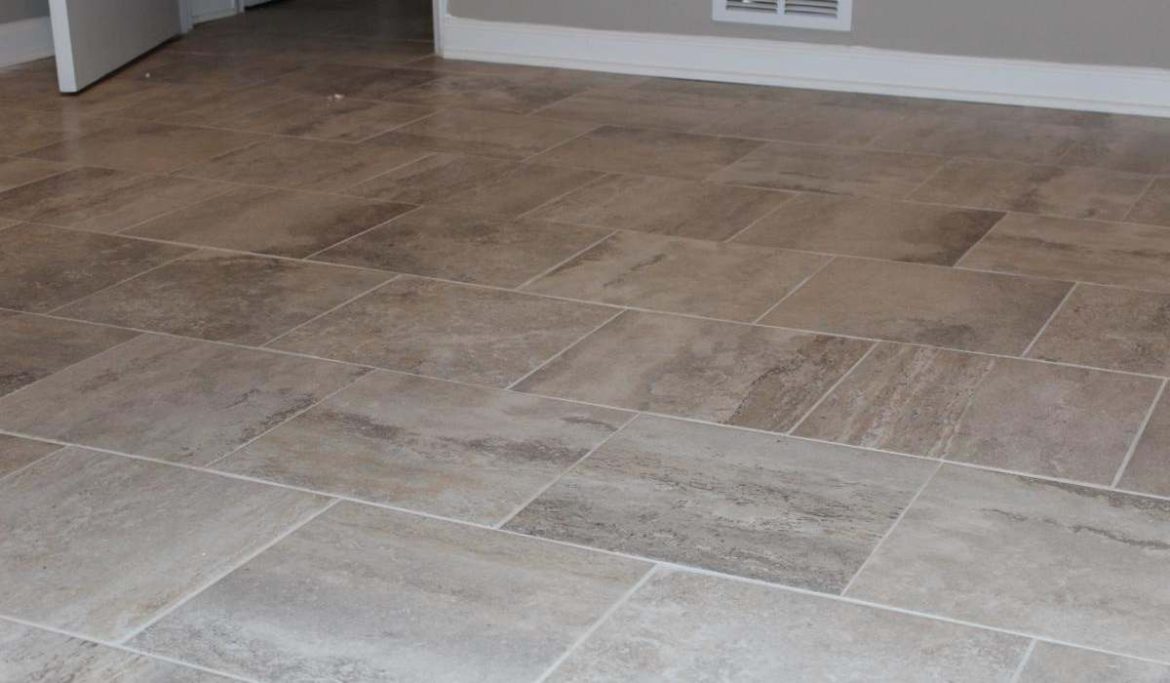
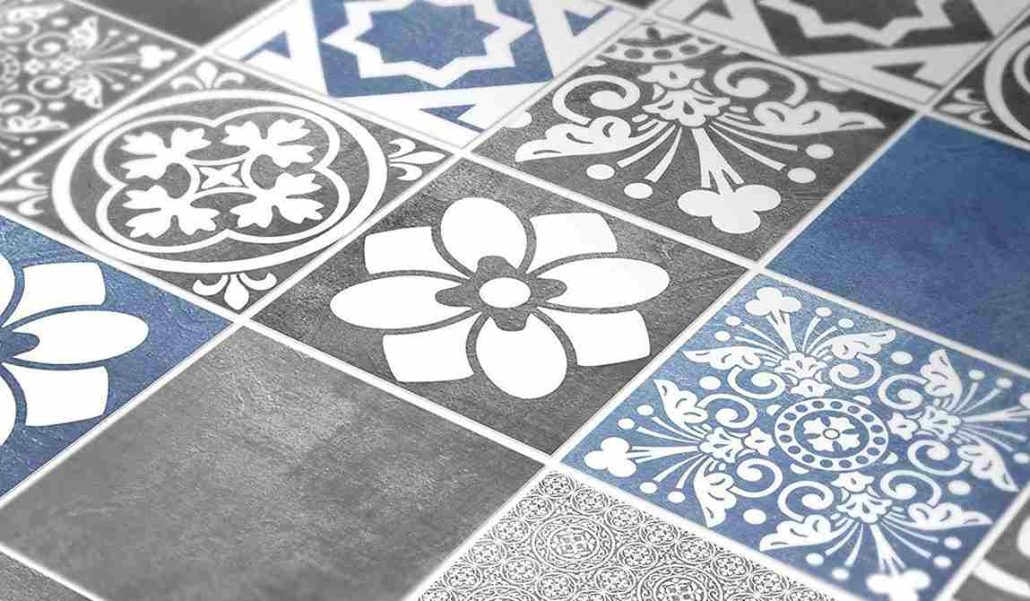
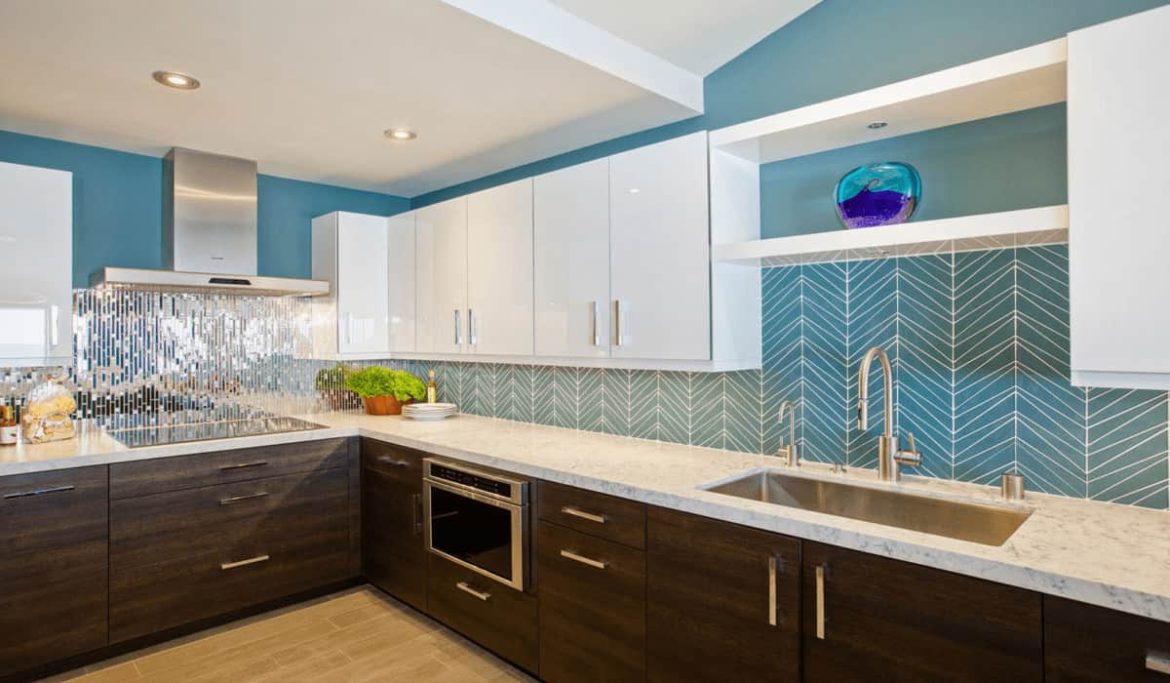
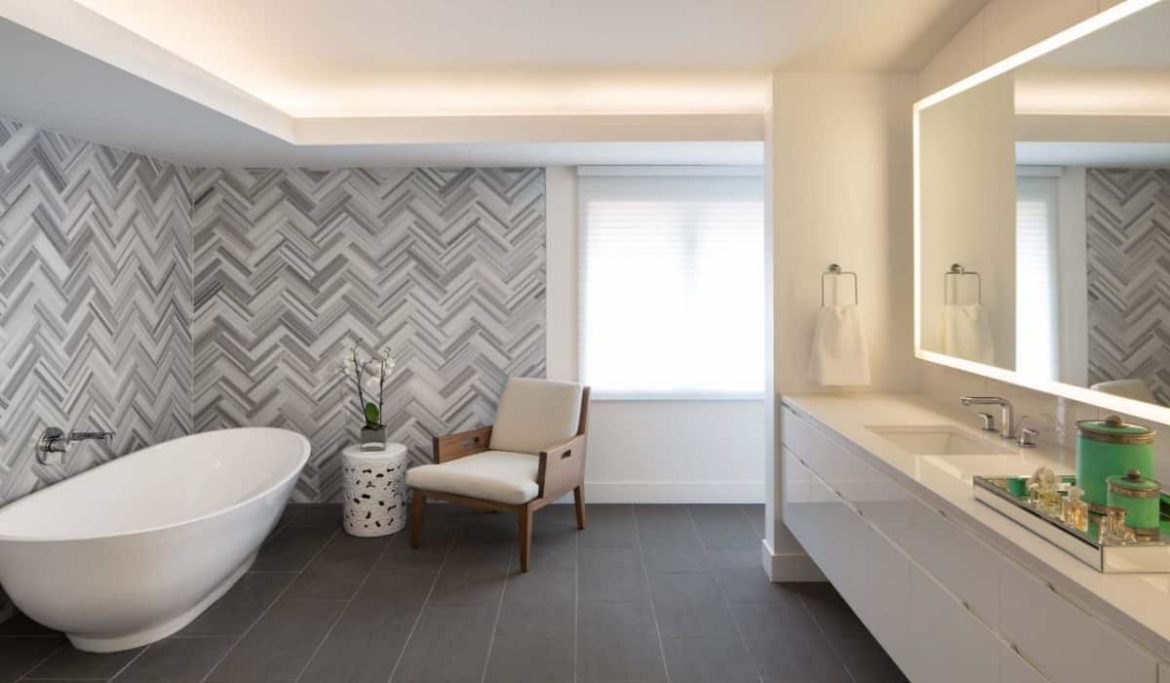
There are many misconceptions, questions, and uncertainties about the subject of tiling and learning how to tile ceramic, especially whether it is possible to tile on wood or not.
The simple answer is “yes”! Following a few basic guidelines will allow you to tile over wood more smoothly than any other surface. And we’re here to provide you with the information you need to properly tile over wood.
Things to think about
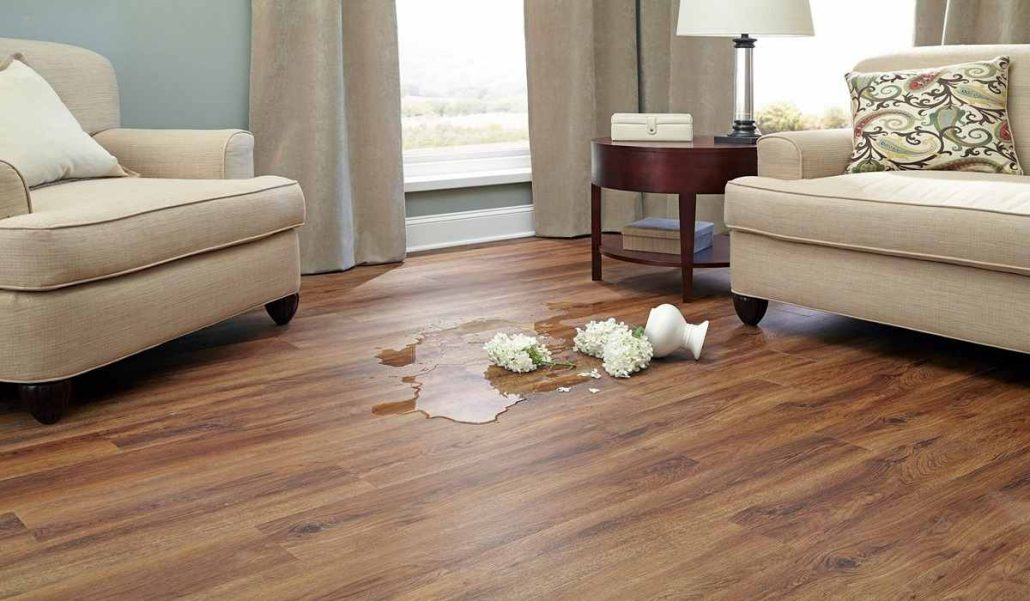
It’s important to remember that wood floors naturally bend, expand, and contract, which can make tiles slippery and broken if they’re not installed properly. Here’s what to keep in mind when wondering if you can tile over wood.
If you are planning to tile over a wooden surface, one of the first and most important steps you should take is to make sure that the subfloor is rigid enough to prevent the tiles from getting tangled.
It is best to choose the right tile adhesive as well, one that is flexible enough to accommodate the slight movements of the subfloor.
Common problems you may encounter
There are a number of common issues to consider when determining whether or not you can tile over wood surfaces such as plank or chipboard floors.
Deflection during the applied load
Depending on the strength of the structure and the load on the tiles, the floor bends. If the adhesive is not flexible or thick enough to absorb the applied stress and movement, there is a good chance that the tiles will begin to shift and possibly crack.
Due to the size and weight of large format tiles, this problem is even worse in that situation.
Temperature related expansion and contraction
Compared to other surfaces and materials such as mortar, ceramics and stone, wood expands and contracts at a significantly faster rate in response to temperature changes.
To be able to properly control wood changes, you need to check the right glue to use.
Contraction and expansion caused by moisture and humidity
Wood swells when it gets wet, either from water leaks or atmospheric humidity. This can be a significant issue, especially if you are tiling over wood in wet areas such as bathrooms or showers.
It’s also important to remember that if you’re going to tile over wood in areas like this, you need to make sure the wood is completely dry first.
Transport joints
Tiling directly on the floorboard is more risky because movement under the tiles may cause unwanted cracks and tile breakage.
If there is too much movement and disruption in the joint under the increased pressure of the tiles, hairline fractures often begin to appear.
Joists can be used to support joints, strengthen the floor and reduce the excess pressure of the tiles.
Can you tile on wood? Step by step guide.
To achieve a durable finish on your tiling project, start by making sure the surface you are tiling on is smooth and safe. Is tiling on wood possible? This is our exact method.
Loose but secure floorboards
Making sure your flooring is safe should be your first priority. Be sure to look around your room for any loose or cracked flooring that may need to be fixed.
By doing this, you can create an even surface for your tiles. Be especially careful when nailing your floors and watch out for buried cables or pipes to avoid damaging them.
We recommend using shorter screws and being careful where existing screws are placed to nail next to them will help you minimize the chance of damaging exposed wires or pipes.
When nailing your floorboards, remember that the joists usually run in the opposite direction to the direction of the floorboards.
Before you even go to the next step, make sure your floor is level to secure your floorboards so you can install tile on them later. Before proceeding, be sure to sand the uneven parts of your floor if it is not completely level.
Choose your deck
According to UK guidelines, backerboard is the first material you should use to lay your floor before tiling. A lightweight and cost-effective material made specifically for earthmoving installations is called a backer board.
We recommend using a backing board as it helps ensure a more flexible and long lasting tile installation. The floor level is one of the advantages of using a support board.
This increases the surface area because other materials in addition to the adhesive must be thick enough to fit over your tiles.
In contrast, backboards offer a thinner alternative to your board and help maintain a more consistent floor surface from room to room.
Laying on the board
Before you start tiling, you need to properly anchor the floor using a combination of screws and glue to create a smooth surface.
Cut the board to fit the corner of the room and work your way around, gluing your deck together, starting at one corner and working your way to the other. Once you have your space completely covered, you can start gluing things.
Using tile primer
The next step is to prepare the surface of the freshly produced surface before proceeding with tiling.
We recommend that you use a suitable underlayment for tiling wooden floors to prepare your deck. Never use PVA for primer as there is a high chance that water will seep under the tiles and reactivate the PVA causing your tiles to loosen.
Adhesion and the overall tiling experience are improved as a result of increased flexibility, waterproofing and adhesion to your adhesive and tile.
Without primer, there’s a good chance your hoverboard will get wet, making it harder to work with and leading to more problems once you’ve set your tiles.
Your glue mix
You’re almost ready to start tiling, but first you need to mix and seal the surface.
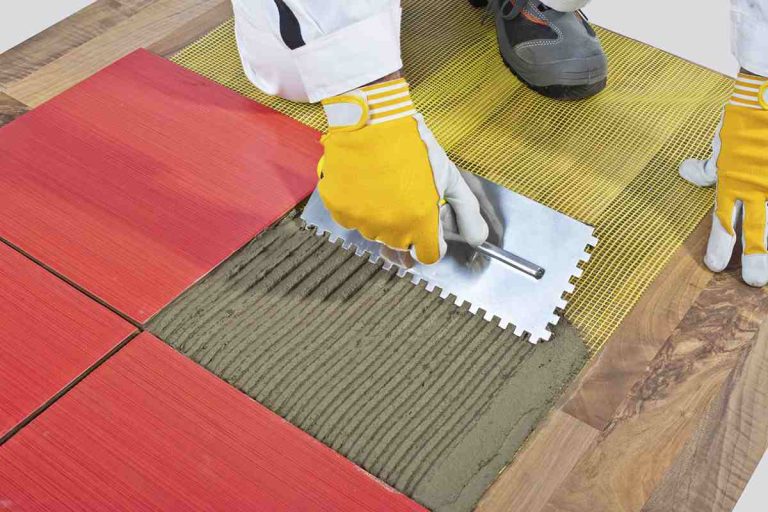
When installing tile over wood flooring, choosing the best adhesive for your project is critical. The risk of your tiles shifting and cracking is reduced by using a flexible adhesive and grout that better responds to any movement of the wood floor.
Please read the manufacturer’s packaging instructions carefully to obtain the ideal consistency and adhesion for your glue. These instructions will give you the exact measurements to use.
Set your tile
Using a suitable size trowel, after mixing the glue to the desired concentration, apply it on your surface.
To help create a strong bond between the tile and the wall, remember to “back” each tile with adhesive before laying it down.
So there you have it! Can you tile over wood? This is the question we want to address.
Your comment submitted.