Follow the steps below to determine the dimensions of a granite slab and tiles set that will work for your new backsplash or countertop and help you in cutting.
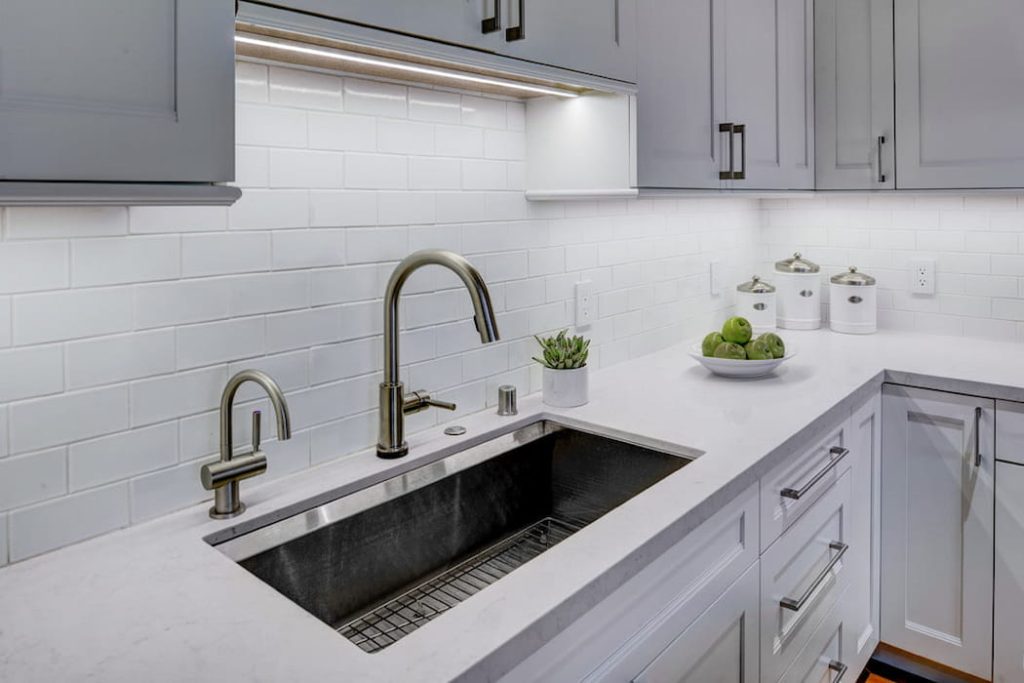
Granite that has been polished, sealed, then sealed again is a popular choice for upgrading kitchens and bathrooms because it is one of the few materials that can offer a timeless appeal, durability, and low maintenance that is comparable to none of the other options.
This natural stone, on the other hand, can cost anywhere from $15 to $40 per square foot, and the expense of installation by a skilled professional can add an extra $25 to $35 per square foot.
One strategy that can greatly cut down on the expense of the update that you want? obtaining more experience with cutting granite.
Because granite is so solid and so hard, the task at hand must be approached methodically and with the appropriate tools in order to be successfully completed.
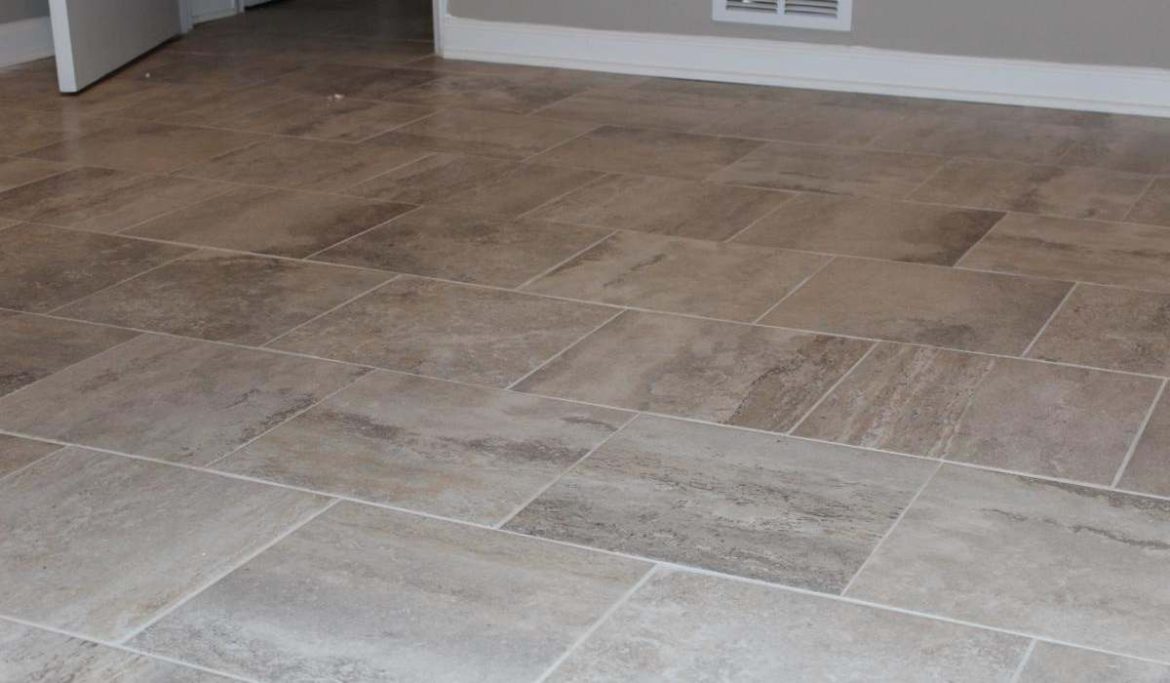
For any kind of home renovation job, the following information will provide you with all of the guidance you need to cut granite tiles and slabs, which typically measure 114 inches in thickness but can be as thin as 112 inches.
A Granite Slab is Cut
STEP 1 To cut granite, pick between a regular circular saw and a wet-cut circular saw. Both will function, but the wet-cut circular saw will generate significantly less dust because it uses a tiny tube to drip water onto the granite’s surface as you cut. If feasible, cut the granite slab outside to make cleanup easier.
STEP 2 Set the granite slab in place on a stable work surface. To firmly secure it, apply C-clamps along the granite slab’s sides at intervals of a few feet. A designated workbench is ideal, but keep the slab away from unstable surfaces like sawhorses. You can prevent vibration and movement of the slab, both of which might result in chipping, by fastening the piece with clamps.
STEP 3 Put on a dust mask, safety goggles, and ear protection to protect yourself. Without a wet-cut circular saw, cutting granite is noisy and messy.
STEP 4 Use painter’s tape to cover the granite section you plan to cut. The tape doesn’t need to be placed precisely because its only purpose will be to preserve the surface and lower the likelihood of chipping. You can cut right through it by placing two or three strips along the topside in the general area where you’ll be cutting.
STEP 5 Take accurate measurements and use a marker to draw a cutline over the painter’s tape. Here, the saying “measure twice, cut once” by sage carpenters is applicable. To be sure you’ll be cutting in the precise location, take your time and double-check your measurements. You will only get one chance to carve stone correctly.
STEP 6 Attach a diamond blade to the saw that is designated for cutting stone. Then, starting at the end of the cutline, make a brief “back-cut” that is about two inches long. As you cut from the opposite end and arrive at this location, this will lessen the likelihood of the granite chipping.

Making the back-cut is essential because the granite material gets incredibly thin right before the sawblade pierces the slab’s final piece of stone. Without the back-cut, the saw’s vibrations might have chipped or perhaps broken off a portion.
STEP 7 Reposition the saw at the opposite end of the slab and cut slowly along the cutline after making the back-cut. Maintain mild, consistent pressure on the saw without pushing it, letting the blade do the work, and concentrate on keeping the blade properly aligned on the cutline.
Until you have completed the cut, apply the same gentle pressure. This could take up to 15 minutes, depending on how long the cut is.
STEP 8 Remove the tape from the granite, then notice how precisely you cut it.
Allow the granite dust to collect before using a shop vacuum to remove it.
If you used a wet-cut circular saw, there will be a small layer of wet slurry rather than dust; use a moist rag to remove it from the slab. With a garden hose, slurry that has been left on a sidewalk or driveway can be simply removed.
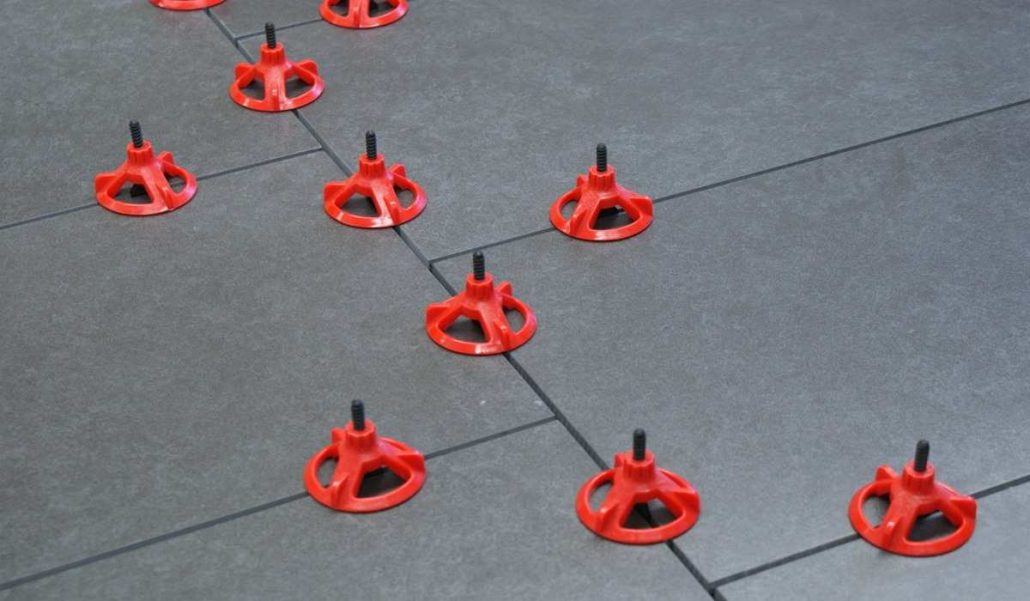
Tile Granite Cutting
STEP 1 Use a wet-tile saw to cut granite tile. A wet-tile saw is stationary, as opposed to a handheld circular saw, and the tile is supported by a sliding table.
Wet-tile saws come in a broad variety; some have beveled blades, adjustable guides, or lasers to help line the tiles, but they all function in the same way.
STEP 2 Attach a diamond blade to the tile saw that is designated as being capable of cutting granite.
A blade made to cut marble or ceramic tile is insufficient. Granite is more durable than marble and ceramic tile; a blade made for cutting other kinds of tile will hardly make a dent in granite.

STEP 3 Carefully measure how much of the tile has to be removed, and then use an indelible marker to draw the cutline.
While cutting stone, a standard marker may wash off. After the tile has been cut, any stray ink can be cleaned off with a little rubbing alcohol and a rag.
STEP 4 Add water until the “Fill” line is reached in the reservoir on the wet-tile saw.
STEP 5 Place the tile on the sliding table and place the blade’s cutline in line with it. Make use of the guidelines to hold it in place. If you’re unsure how to use the guides on your machine, consult your owner’s handbook.)
STEP 6 Switch on the saw and lightly push the sliding table forward, letting the blade’s rotation perform the most of the job.
When cutting granite, water will freely run over the tile and the blade, removing dust, cooling the blade, and lowering the possibility of chipping.
STEP 7 Before removing the broken granite tile from the sliding table, shut off the saw.
Drain the tile saw reservoir and use a rag to clean up any water or slurry that has been spilled or sprayed. If necessary, hose down outside surfaces with a standard garden hose.
To benefit from our experience in trading tiles and start a prosperous business relationship, do not hesitate to contact us.


Your comment submitted.