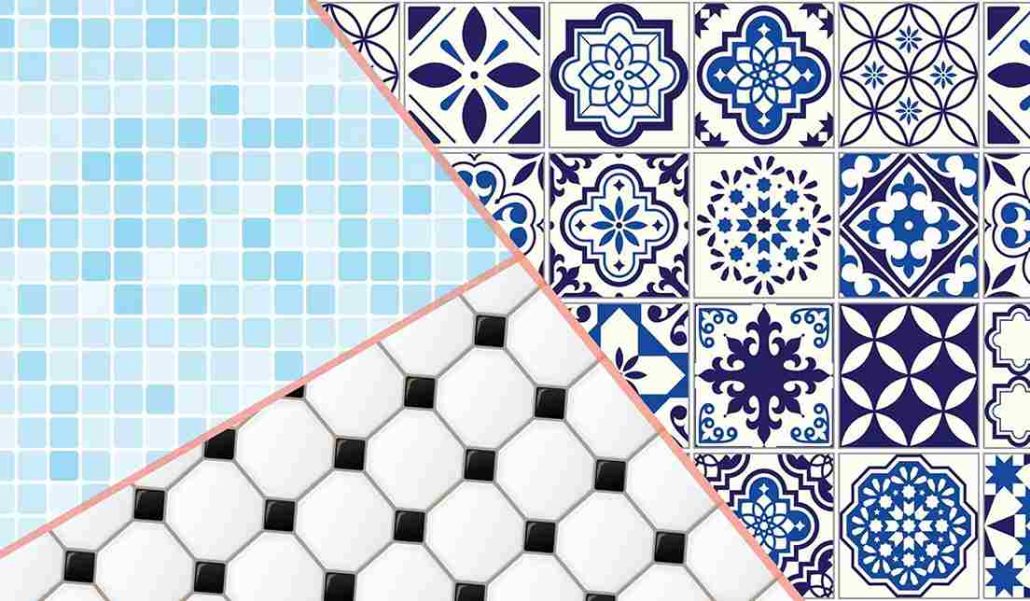
In some cases, removing tiles from surfaces, like wall and floor is inevitable.
However, DIY demolition and renovation projects can be enjoyable if there are good instructions.
It offers excitement, quick results, and stress relief. Nobody has ever said that learning how to remove tile is one of those enjoyable activities.
Tile removal can be painful, but it’s one of the first and most crucial steps in some home remodeling projects.
In the best-case scenario, the tile will accidentally come loose because the installer lacked the skills or know-how to securely fasten it to the subfloor. But in most other circumstances, removing tile is laborious, tedious work.
This guide will assist you if you need to know how to remove backsplash or floor tile. It includes a few essential instructions and advice that will make the project run as smoothly as possible.
Mortar versus Mastic
Even though DIYers have tried countless techniques, there are only two widely used ones: applying mastic and applying mortar.
It’s important to be aware of the differences in advance when removing tiles attached with mastic versus tiles embedded in mortar.
How do you know when the rubber meets the road? Set your chisel into the desired location and pound it with your hammer firmly and forcefully.
The adhesive used in mastic-set tile is flexible and frequently separates into huge fragments. Congrats! Your life will get a little simpler as a result of this.
When a hammer is used to strike a mortar-set tile, it may not always move. You’ve got your work cut out for you if not much happened.
Marmorized Tile
Mastic is a somewhat flexible material that adheres nicely to the surface it is placed on. With the right methods, it will scrape and peel up, though. The trick with mastic adhesive is as follows: It dissolves in water.
Stone-Set Tile
It takes longer and creates more mess to remove mortar-set tile than mastic-set tile. If there is a bright spot, it is that practically anyone can accomplish it. The only requirement for success is unwavering willpower.
As you move along, bear in mind that you are saving money that you can use to purchase new tile or a celebration drink (or two) at the neighborhood bar. You may require it!
There is no doubt that this will be a mess.
Therefore, take extra precautions before starting to keep the remainder of your house from being covered in dust and waste. Before getting out the toolkit, follow these instructions for dust-free tile removal:
If your HVAC system uses ductwork to circulate air, shut off the system for the time being and, if you can, seal the vents in the workspace.
The tiled room’s windows should be opened.
Plastic sheeting can be used to block up the doors, preventing dust and debris from escaping.
Of course, it makes sense to use a dust mask in such circumstances.
Additionally, it’s a good idea to use work gloves and safety glasses when dismantling tile because the process generates slivers and shards similar to shrapnel.
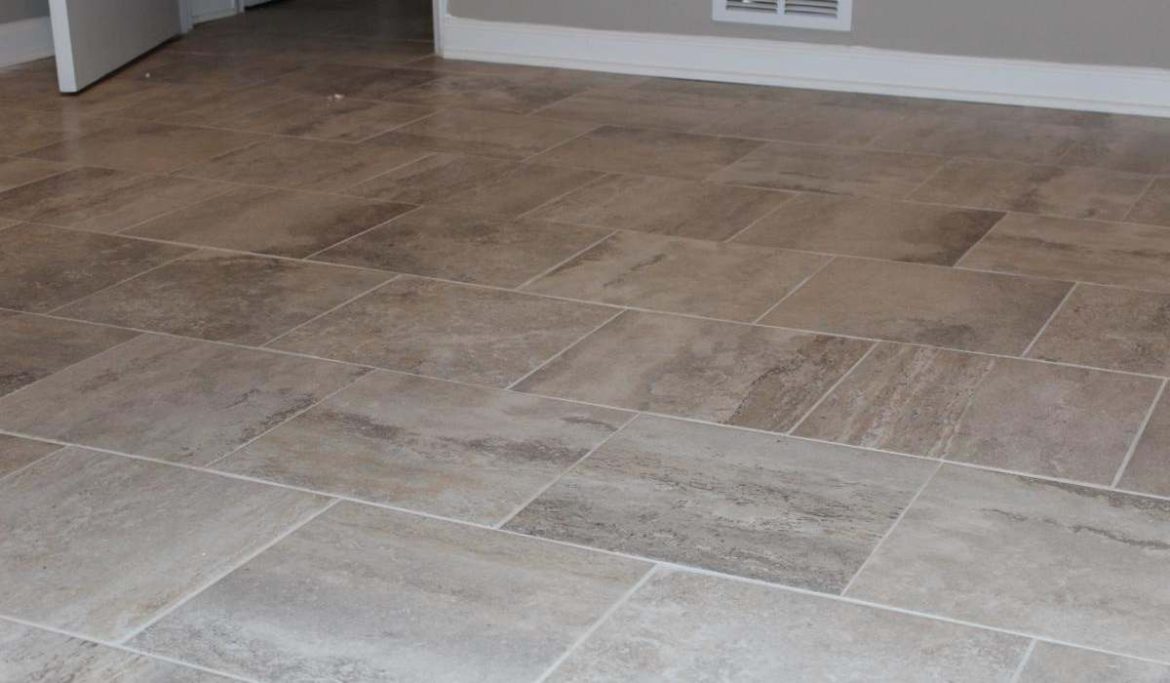
Removing Floor Tiles
Tiles removing from a floor is a lot of labor, so take a deep breath and gather your courage. Removing the tile is a crucial step in accomplishing the aim of a brand-new makeover, so keep your resolve and focus.
Observations to make include:
Sometimes a tile surface only needs to be cleaned and its grout replaced. Even with a grout removal tool, removing the old grout might be difficult.
The removal of asbestos tile is not covered by the advice in this article. That position calls for a completely distinct set of guidelines.
Important: Put on a mask, put on some gloves, and cover your eyes. Tile removal can be a little chaotic, so being ready is crucial.
STEP 1: Begin at the edge of the floor or at a vulnerable spot.
Finding the weak point is crucial because the tile floor may appear to be an impenetrable fortress. Look near floor grates or drains for a few tiles that might jiggle or pop off the floor. Pick a grout line close to a wall if all the tiles are still in place.
Try using the point of the mason’s chisel to pry loose tiles up and out of the way. Dig into the grout line and beneath a tile with the chisel and a 2-pound sledgehammer if the tile is intact.
Separate the tiles (or tile pieces) from the glue in step two.
Work your way from one end of the room to the other, gradually peeling away the subsequent tile courses with a scraper.
Tile that has been set in mastic: Remove the tiles from the glue with a mason’s chisel.
In fact, the removed tiles should be undamaged, so you should be able to rescue at least part of them, if wanted. During the procedure, if any tiles break, use the scraper to separate what is left.
Tile that is mortar-set: More chiseling, a lot more chiseling, rather than scraping! In fact, you might need to repeatedly smash the chisel onto a tile in order to exert enough force to break it.
Scrape horizontally with as much force as you can muster in order to separate the tile from the underlying surface. If you run into trouble, just start chiseling again.

STEP 3: Take out any leftover adhesive or grout.
Sweep away as much debris as you can, then fix any loose or cracked tiles. Start working on the glue after clearing the floor of any loose debris. The methods for removing mortar versus mastic are different.
Tile put in mastic: Use a towel to soak the mastic in a pail of warm water.
Use the floor scraper to remove the glue after letting the water remain in the mastic until it softens. If any adhesive is still there, give it another soak before scraping again.
Tile placed in mortar Possibly the worst aspect of the project is this.
Working in tiny portions at a time, it entails repeatedly chipping chunks of thinset or mortar up from the subfloor. Begin by using the floor scraper.
Push it back and forth while keeping it at a low angle to the ground. If that fails, go back to the mason’s chisel and use the sledgehammer to whack away at the mortar in little chunks at a time.
STEP 4: Examine any subflooring or underlayment.
It’s crucial to examine the subfloor carefully after removing all of the mortar or mastic.
Before the project can move forward, there may frequently be peaks, valleys, bounces, or even damage that needs to be repaired.
Use a long, flat instrument, such as a bubble level, and place it on the floor at various points to check for humps and dips.
If there are gaps under the level, there may be a problem, and the subfloor needs to be removed or repaired.
Cleanup is Step 5.
Fill manageable contractor trash bags with the broken tiles, mortar, and mastic, then pack the bags into a wheelbarrow.
Carry the load exteriorly (in multiple trips, perhaps, depending on the size of the installation). Use a powerful shop vac to remove the remaining dust and tile pieces after cleaning.
Remove the mastic from any salvaged tiles you intend to repurpose or repurpose (optional).
You must first remove the mastic off the backs of any complete tiles you were able to rescue (or any shattered tiles that seem cool or interesting enough for a DIY craft project).
To accomplish this, simply immerse the tiles in warm water until the mastic becomes pliable and loose.
Scrape the mastic off the tile’s back to remove it later. A chisel for masonry work will do, although a putty knife or painter’s tool will also do the trick.
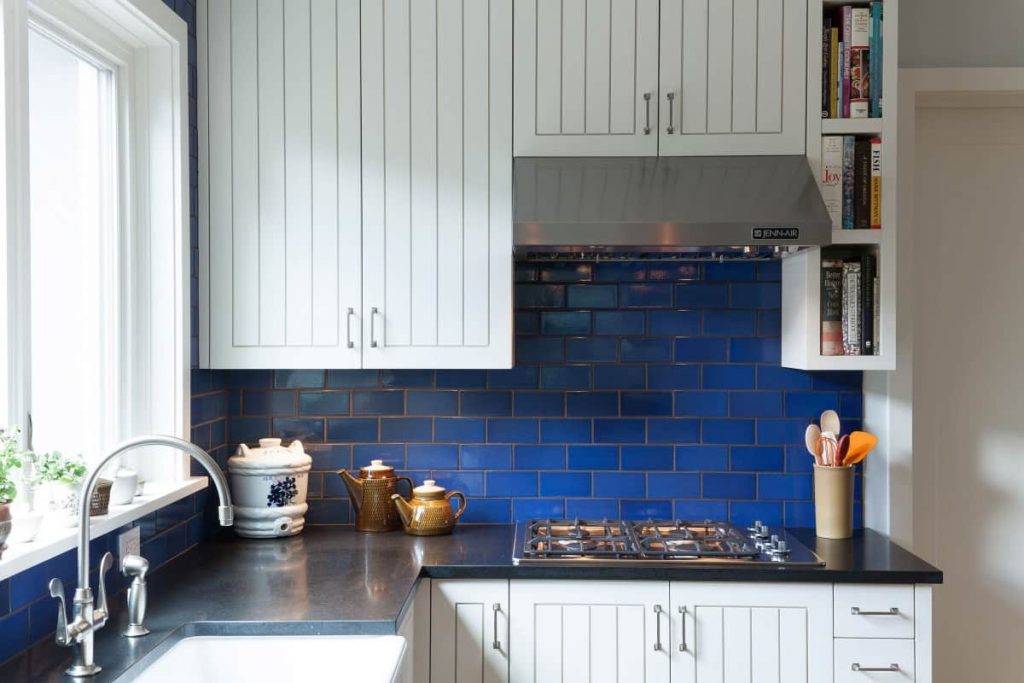
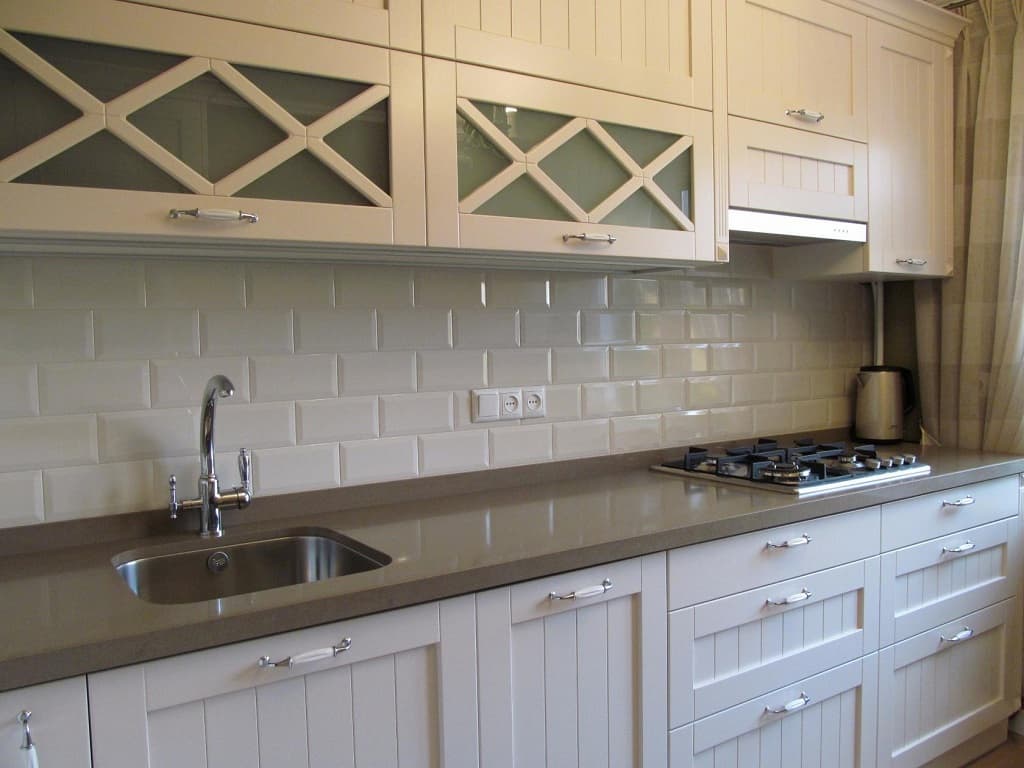
Although it’s not as difficult as removing floor tiles, removing backsplash or wall tiles still presents some difficulties.
You should be able to keep the procedure orderly and barely dirty by using the following steps.
The labor isn’t as challenging because wall tile is frequently softer than floor tile (at least the ceramic and stone versions).
Again, to keep yourself safe while removing tile from a wall or backsplash, make sure to put on gloves, safety glasses, and a dust mask.
Removing Wall Tiles
The majority of the time, removing drywall is considerably simpler while the wall tiles are still in place.
Even though this calls for new drywall to be mudded, taped, and hung, it is quite improbable that you will be able to take down the wall tile without causing damage to the current drywall.
STEP 1: Set up the tile and the room.
It’s crucial to set up the space before beginning to remove the wall tile. Since the process is untidy, open windows, tape door gaps, remove vents and cover ducts, and remove everything that could get damaged in order to remove tiles without creating dust.
Before attempting to remove glass tiles, tape them down with packing tape to stop the shards from flying.
Running packaging tape along the backsplash is doable on smaller backsplashes, but you might want to use plastic sheeting or cling wrap for bigger areas. To contain the debris, cover the floors or countertops with plastic sheeting.
STEP 2: Begin at a vulnerable area.
Since no one walks on the backsplash tile, the wall tile sticks to the substrate below reasonably effectively. In this situation, it’s preferable to dig into a grout line and pop a tile using a hammer and mason’s chisel. To avoid doing more harm than necessary to the wall, use mild pressure.
Observation regarding hammers and chisels Steel that has been hardened is often used to make chisels and hammers. Metal fragments may dislodge and fly at a reasonable speed if these two objects are struck with a lot of power.
With the hammer, gentle blows are preferable. Sledgehammers are not hardened, therefore if force is required, use a chisel and sledgehammer instead.
STEP 3: Keep taking the tile out.
By slipping the chisel under each tile’s edge and tapping it across with the hammer or sledgehammer, you may keep removing backsplash or wall tiles. To avoid needless wall damage, make sure to just press lightly.
Work on one mosaic tile at a time, treating fiberglass mesh mosaic tiles the same as regular tiles. If it becomes essential to remove some mesh, a fast utility knife cut across the fibers will typically suffice.
STEP 4: Take out any leftover adhesive.
The wallboard behind the tile will probably sustain some damage during the removal process.
You’ll still need to be cautious when removing the residual adhesive if that isn’t the case. The best method for removing the glue is to lightly strike the mason’s chisel while holding it at a very shallow angle.
Instead of removing all the adhesive and repairing multiple areas, think about taking out the severely damaged drywall and replacing it with new drywall.
Clean up the mess in Step 5.
It’s time to clean up the remaining mess after the walls have been exposed and the glue has been removed. Sweep up the majority of the trash using the broom.
The loose pieces can be collected and dumped into a contractor bag using the plastic sheeting that is underfoot.
Before fixing the drywall, use the shop vac to get rid of any remaining loose dirt and tile fragments from the corners and cracks.
Making the job go as smoothly as possible requires learning the techniques for removing tile floors from horizontal surfaces or a backsplash and wall tiles from vertical surfaces.
Tile removal is not a pleasant task, but if it is completed properly, replacing the tile or starting over will go much more smoothly.
Smoother, flatter flooring and walls are the consequence of the laborious tile removal process.
To benefit from our experience in trading tiles and start a prosperous business relationship, do not hesitate to contact us.
Your comment submitted.