The Best Price for Buying Marble Tile Sealer
You may have read or heard of stone sealers and stone enhancers if you’re thinking about installing natural stone tile in your home
You might be curious as to how they differ from one another
Simply put, a stone enhancer brings out the natural colors of select stones, while a stone sealer creates a stain-resistant barrier
In more detail, let’s examine what it means to seal versus improve your stone surfaces
By creating a barrier on top of the stone, sealing adds protection and gives you more time to clean up spills that would otherwise seep into the stone
While no stone sealer can entirely prevent stains, high-quality sealers offer stain resistance by delaying the contaminant’s response time on the stone
In other words, a poorly sealed stone will stain considerably more quickly than a properly sealed stone
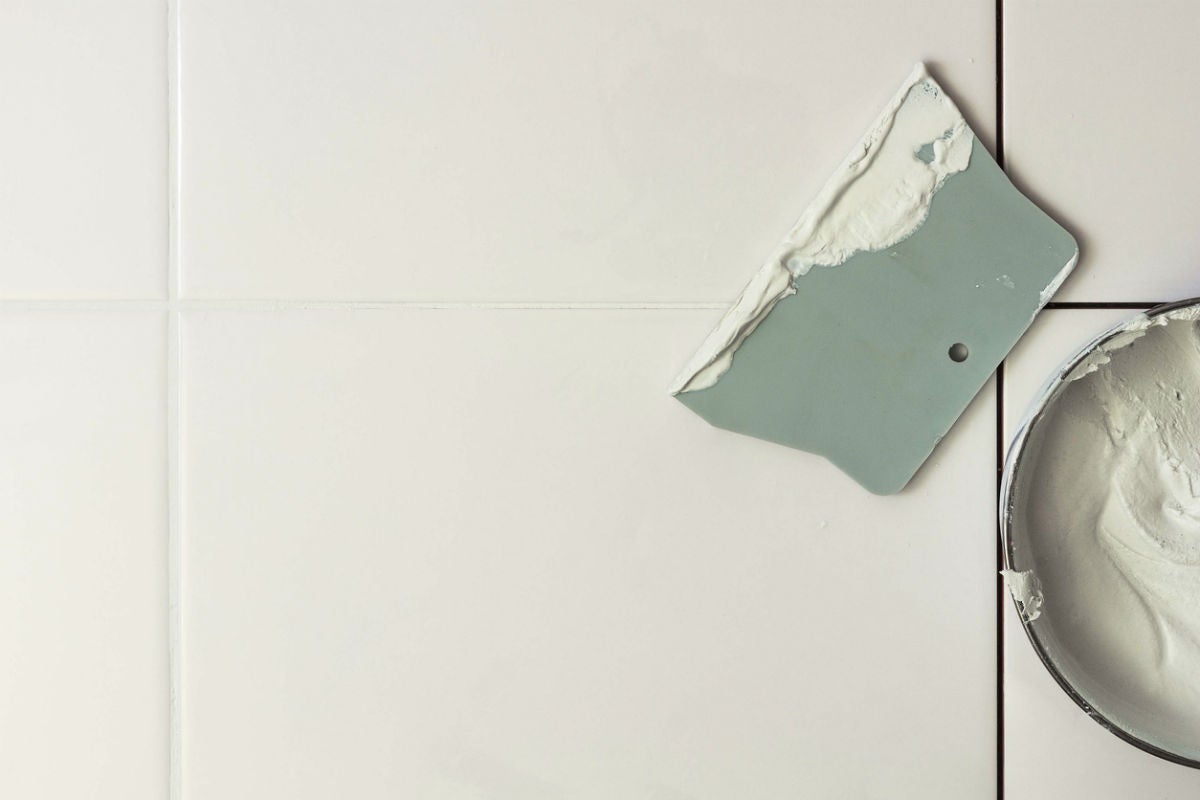
For maximum performance, sealer needs to be reapplied to the majority of stone tile types every one to three years
Other elements that impact this period of time include:
The stone’s porosity for that specific type
Traffic volume in the area
How frequently is the region swept
the kind of sealer employed in the past
Select a natural stone sealer with a higher “time to react” and a wider range of contaminants it can withstand for the best stain resistance outcomes
It’s crucial to be aware that there are primarily two categories of natural stone sealers available
The first is the penetrating impregnator sealer, which is made to seep into the stone when applied
The appearance of the stone’s surface is unaffected by this kind of sealer
Surface sealer is the name of the second category of natural stone sealers
As the name suggests, this kind of sealer sticks to the stone’s surface, so a rough surface is necessary for strong binding
It is therefore not advised for polished or thick stones like granite and marble
When selecting the appropriate sealer for your purposes, keep in mind that surface-type sealers frequently impart some sheen to the stone’s surface
A stone enhancer does not act as a barrier against stains like a stone sealer does
However, there are numerous combination products on the market that include both stone enhancers and sealers
The purpose of the enhancer is to bring out the stone’s inherent hue
Many homeowners prefer the way their tile appears while it is wet; however, an enhancer can help you attain that richer color and sheen even when your tile is dry
The stone’s surface can also receive varying degrees of brilliance through enhancers
It’s necessary to use a sealer whether or not you want to utilize a stone color enhancer
Your natural stone surfaces’ look and resistance to wear depend on how well you seal them
To ensure extended life and improved stain resistance so that you may continue to enjoy your surfaces for years to come, even lower traffic areas should be sealed
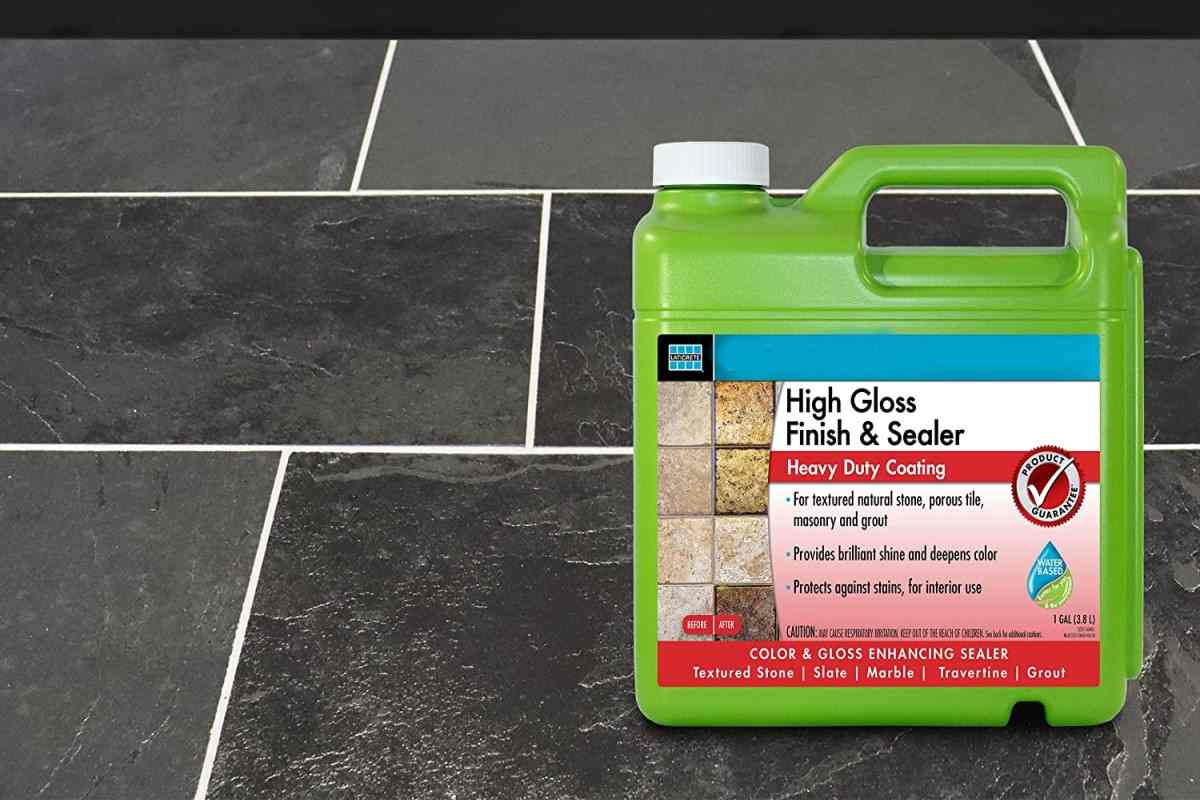
Marble Tile Sealer
Marble is a naturally occurring stone that is rather porous and readily absorbs moisture, making it susceptible to staining
But sealing marble when you install it and maintaining it by sealing it every year or two after that is a pretty simple way to preserve it from stains and moisture incursion
Your marble floor’s traffic will determine how often you need to seal its tile or stone
A marble floor can be sealed in a reasonably straightforward manner
Each application should take less than an hour
In contrast to a ceramic or porcelain tile floor, the entire surface needs to be sealed, not just the grout lines
A marble countertop can be kept stain-free using the same procedure that is used to seal marble floors
To test the surface to see whether it needs a fresh coat of sealer, pour a teaspoon of water on it and let it sit for roughly 20 minutes
Examine the surface after wiping away the water with a paper towel
A dark spot on the marble’s surface will show that the marble needs to be resealed if the water has been absorbed
Use a pH-neutral cleaner designed for the marble to clean your floor before sealing it thoroughly
The use of acid-containing cleansers, such as vinegar, should be avoided because they can etch the stone
Allow the floor to dry fully
To make sure the marble sealer won’t stain the stone:
Please test a small bit of it in a hidden location
Compare the test area’s sealer’s look to the other tiles after letting it completely dry
The sealed surface should only be slightly glossier than the surrounding surfaces
Try a different kind of sealer if the sealer produces stark color changes
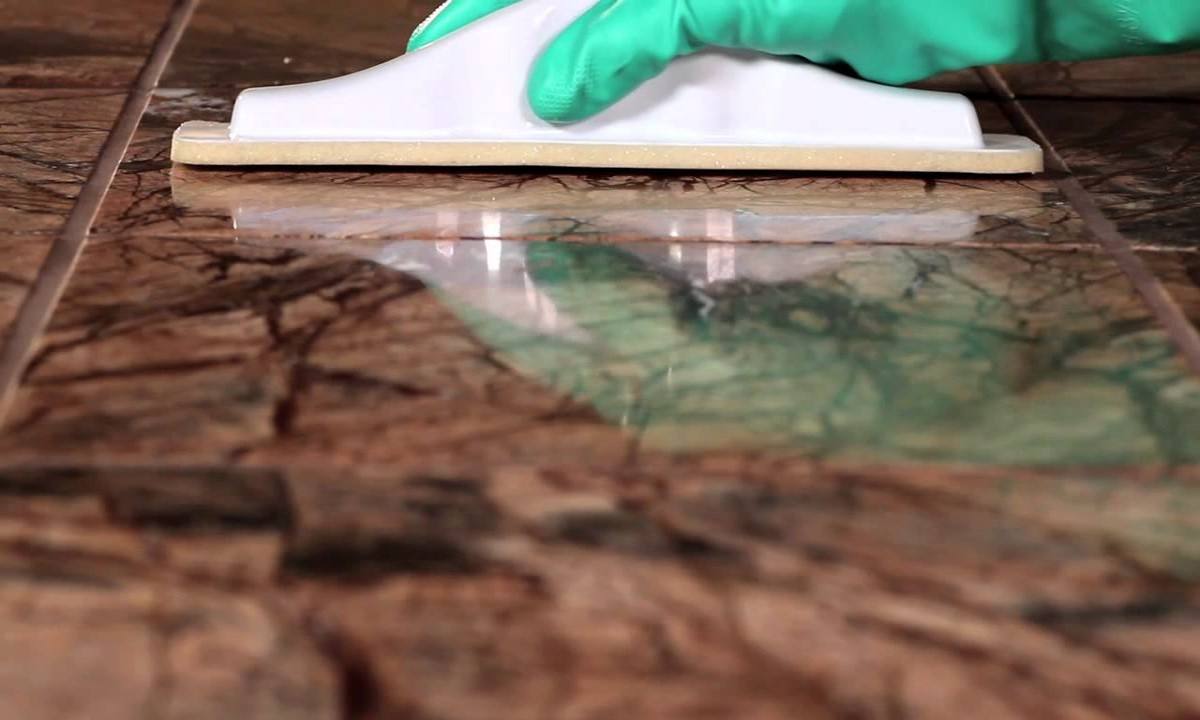
Utilizing a foam brush or soft cloth dipped in the sealer, apply the sealer to each tile individually
The objective is to produce a very thin coating that vanishes in a short period of time
Avoid letting the sealant pool
If bubbles do appear, remove them with the brush’s front edge
Apply the sealer according to the instructions on the packaging; some recommend using a foam brush, while others advise using a cloth
Some sealants even need to be sprayed over the surface
As you finish each tiny tile section, brush the marble sealant onto the grout joints
After quickly immersing the foam brush in the marble sealant, run the thin edge along each grout line
Wipe up any extra with the brush’s broad edge
Since the grout joints are particularly prone to stains, it is crucial that they receive a thorough coating
Observe the sealer’s total drying time, which is typically two to four hours
Apply the sealant to the marble and grout joints once more after completely drying
After a few hours, the floor is ready for use, but you shouldn’t start washing it normally again until the sealer has fully dried, which takes 48 to 72 hours
Until the sealer has fully dried, you should keep any potentially staining substances (stain agents) away from the area
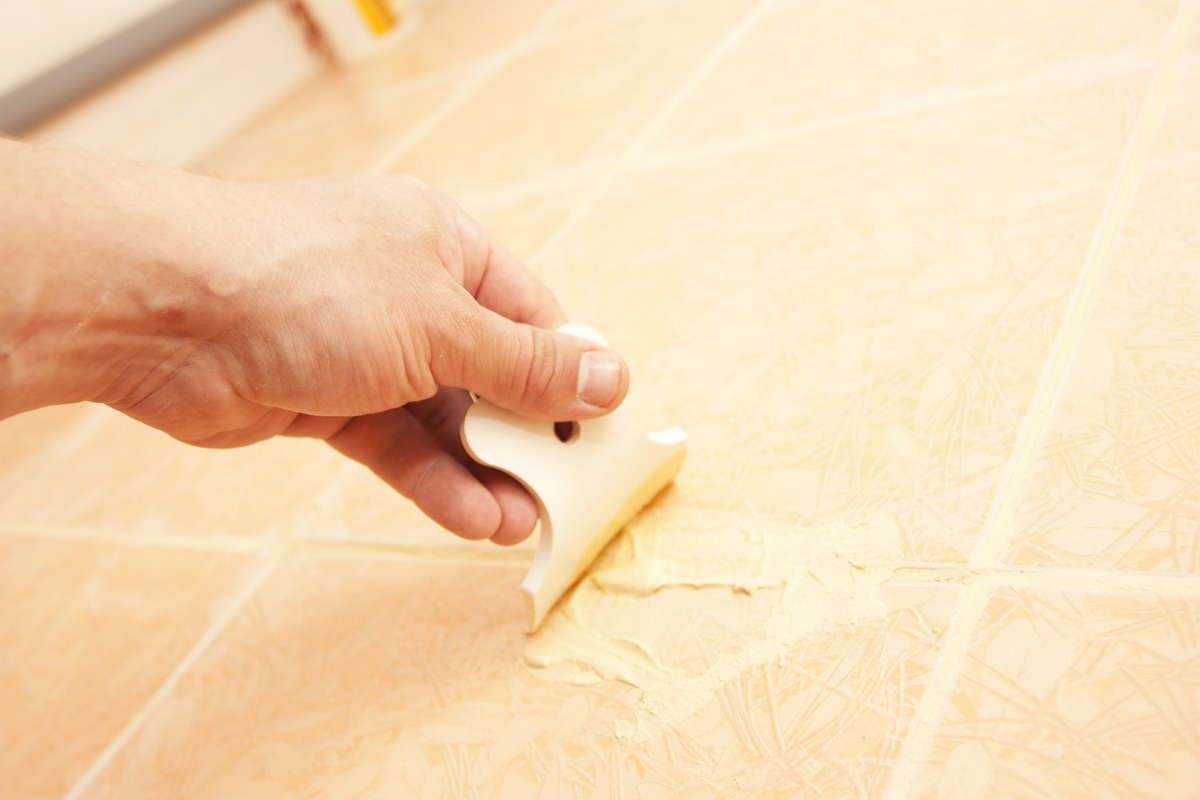
Marble Tile Enhancer
A chemical called an enhancer improves the color of your stone or tile
It gives your granite, travertine, marble, or other natural stone a moist appearance, which enhances the color
Use it on any unpolished stone surfaces, including granite, travertine, marble, and limestone
On polished surfaces, a color enhancer can occasionally be applied
However, it stands out much more on finishes that are sharpened, flamed, leathered, antiqued, tumbled, satin, brushed, or rough
Use it on horizontal or vertical surfaces such as floors, vanities, showers, fireplaces, backsplashes, countertops, and showers
Apply it on grout and rocks
Use it indoors or outdoors
We use enhancers to darken grout, repel water, reduce fingerprints, and add shine and depth to your stone
(In particular, polished black granite
) Additionally, they can conceal blemishes on unpolished stones, give rough surfaces a more polished or finished appearance, and match the edges of your stone to its surface
Example: Tile edges
On interior surfaces, as opposed to outer surfaces, enhancer lasts longer
Compared to flooring, it lasts longer on countertops and vanities
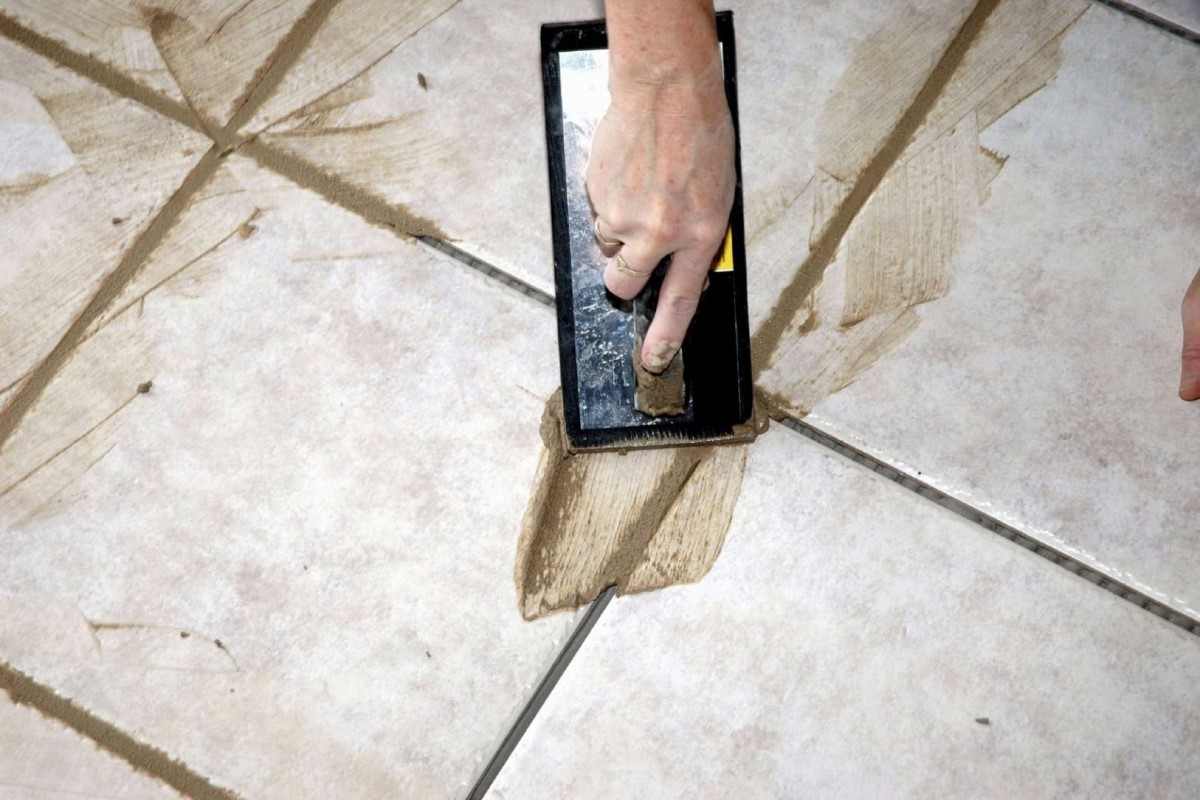
We applied the color enhancer on an interior slate floor in a busy (residential) building
We used it for almost three years before reapplying it
Over time, you’ll observe a slight fading of the color’s intensity
We also improved several boulders that were outside
So far, the enhancer has survived three Minnesota winters
Although the color has worn off, the rocks still don’t appear as arid and dusty as they did before the enhancer was applied
When using an enhancer, you ought to: Use a cleaner made for counters or stone floors to clean your surface
Use a rag, paintbrush, roller, or sprayer to apply the enhancer
Give it about five minutes to sit
It would help if you had it to pierce through the stone
Next, blot any extra substance
This is dependent on the quantity of stone you are improving and its location, including any walls, counters, floors, etc
It usually takes one hour to lay 100 square feet of floors
On a slate floor, we put the color enhancer to the test
We were interested in how much of a color difference there would be, whether it could hide scratches, and how long the improved appearance would stay
