adhesive thick porcelain tile purchase price + user manual
When preparing the adhesive for porcelain tile, begin by combining the water and ammonia, and then add the cement
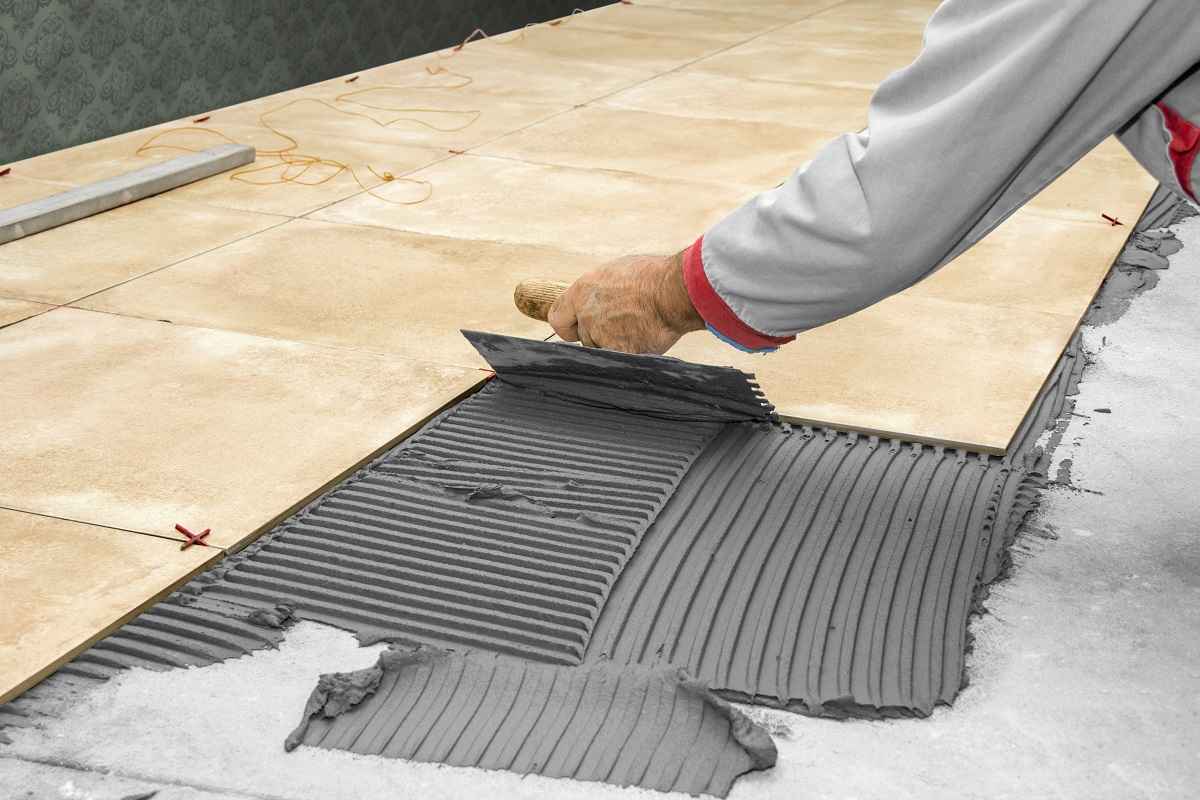
After the glue has been well combined, spread it over the tiles with a gentle mop brush while moving slowly and carefully
Be sure to keep the area wet until the glue has had a chance to dry, which should take around an hour
Do not apply to cold surfaces or surfaces that may become cold
This includes damp carpeting
When applying, make sure to get rid of any extra moisture before putting down the tiles
After the tiles have dried, use a utility knife to trim away any excess, making sure to leave at least a quarter of an inch of overlap
If the edges need to be cleaned up, use a straight edge to do so
Allow to dry completely before grouting the next day
An Adhesive for Porcelain Tile
This is a very potent glue that is also very sturdy and adaptable
In addition to ceramic tiles, stone, wood, glass, and metal are some of the other substrates that can benefit from using this adhesive
You are going to require the following:
A miniaturized paintbrush
Paints made of acrylic (a few colors)
Sandpaper
Water
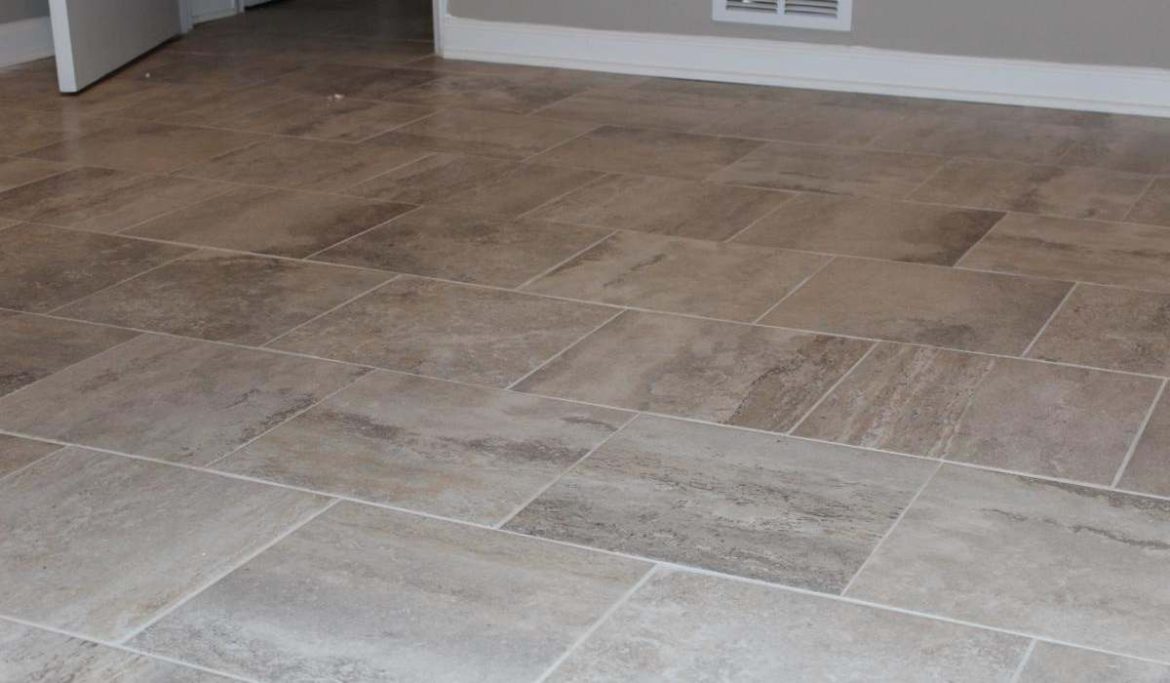
Adhesives for Porcelain Floor Tiles
When working with adhesive for porcelain tiles, the first thing that needs to be done is to clean the tile’s surface thoroughly by brushing away any dust or dirt that may have accumulated there
After that, completely combine the acrylic paints with some water in a separate container, and then proceed to apply the resulting mixture to the tile
Before moving on to the following stage, make sure the paint has had the time to thoroughly dry
After the paint has had sufficient time to dry, cover the area that has been painted with a very thin layer of sandpaper
Continue working through the composition in this manner one portion at a time until it is completely covered
If you use an excessive amount of sandpaper, you run the risk of scratching the paint
The tile should be allowed to dry out overnight
Next, once the paint has completely dried, you can proceed to the next and last stage of the process
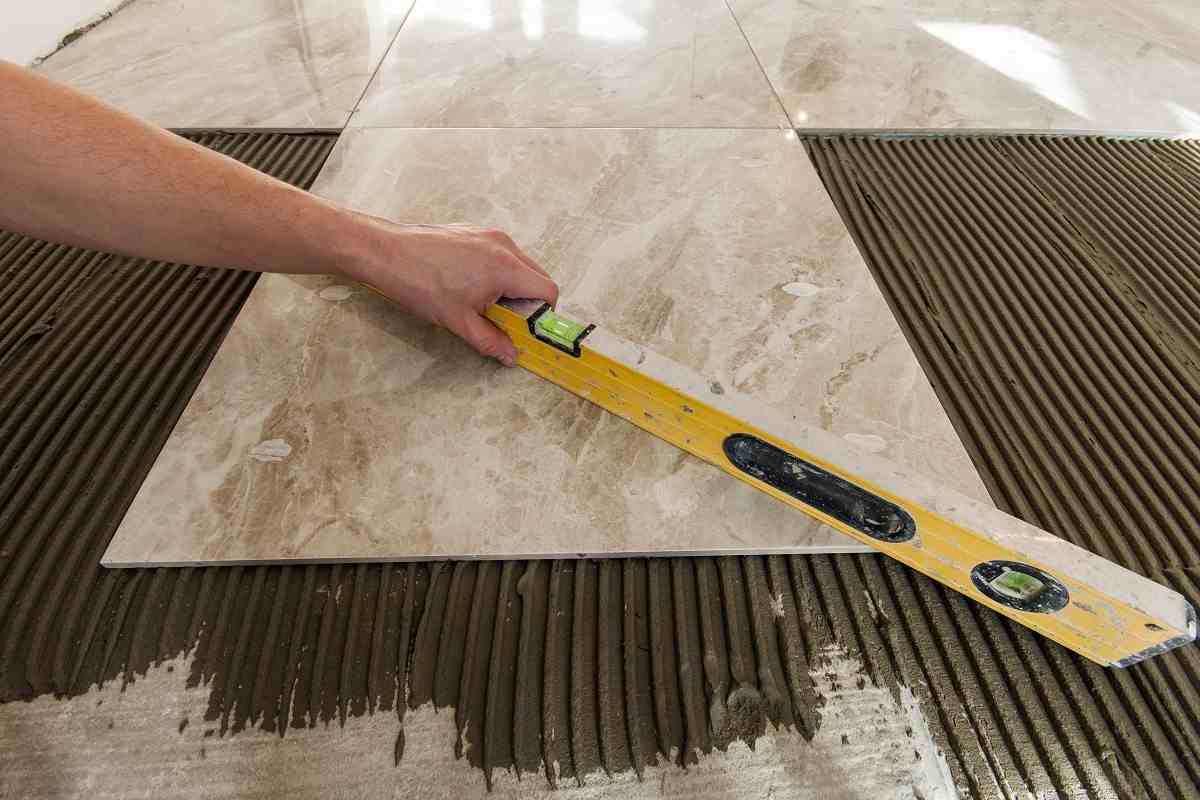
After thoroughly combining the adhesive with a trace amount of water, spread it around the underside of the tile
Make sure that the borders are not attached in any way
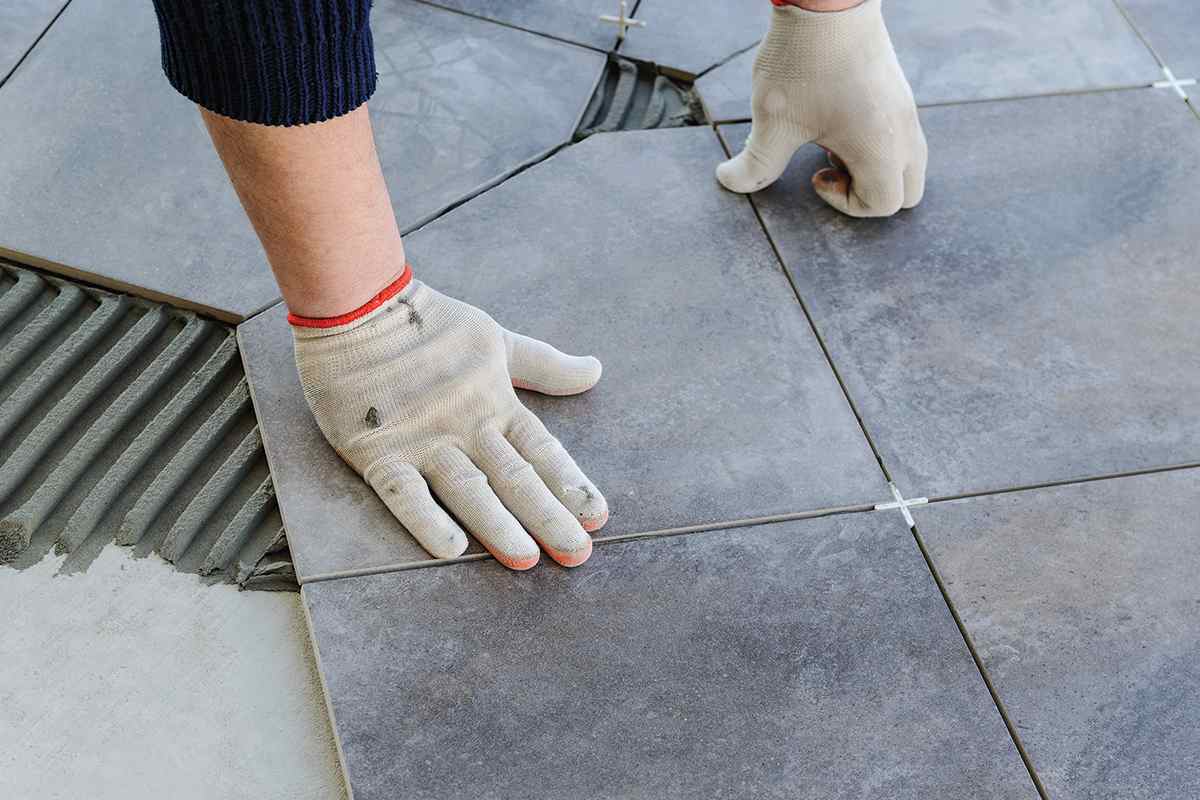
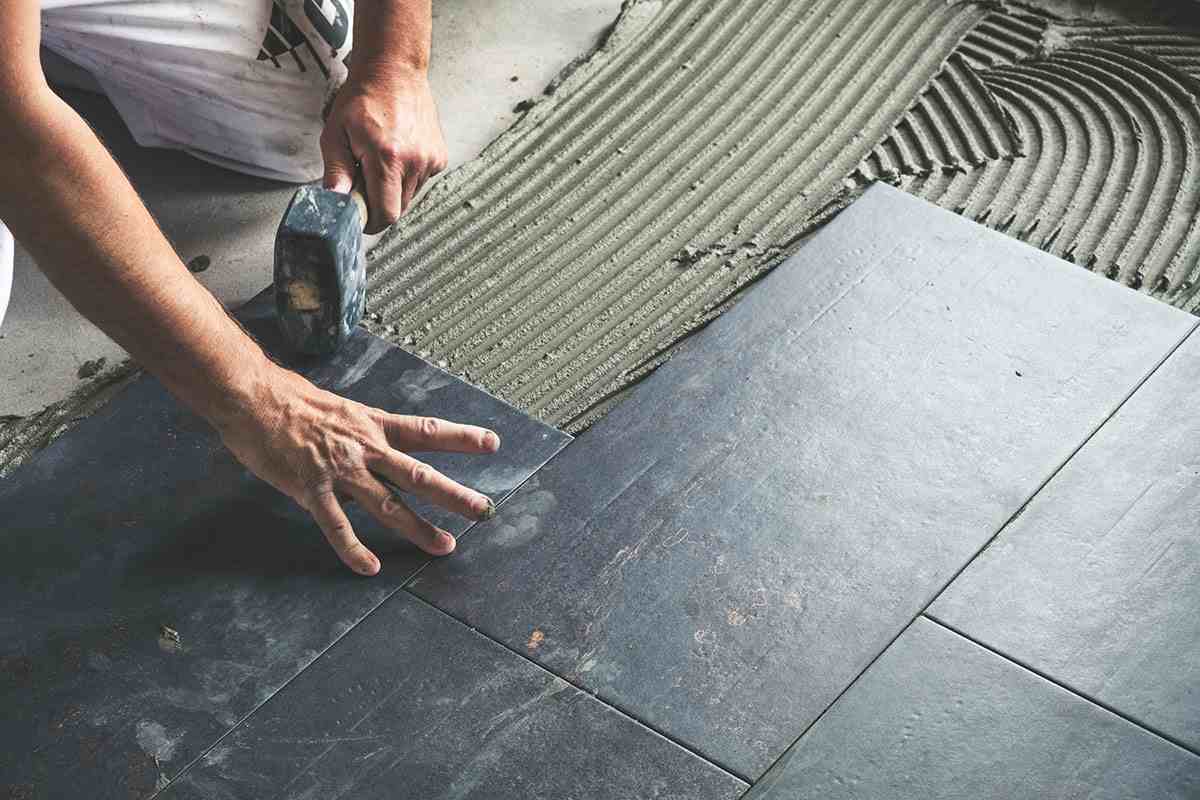
While you do this, hold the tile’s sides firmly in place so that it doesn’t move while you replace it in its original location
In the event that you need to remove the tile, you can do so once the adhesive has dried
Because the adhesive is water-based, you should try to keep the tile as far away from moisture as possible throughout the process
For instance, after the application has been made, cover the tile with plastic wrap and let it sit for a few hours
You always have the option of including some clear nail polish in the mixture if you’d want the bond to be even more secure than what is offered by the porcelain tile glue
In the event that you decide to proceed in this manner, you will need to make sure that the nail polish is removed before you apply the tile glue
In that case, the nail polish and the adhesive could have an adverse reaction to one another
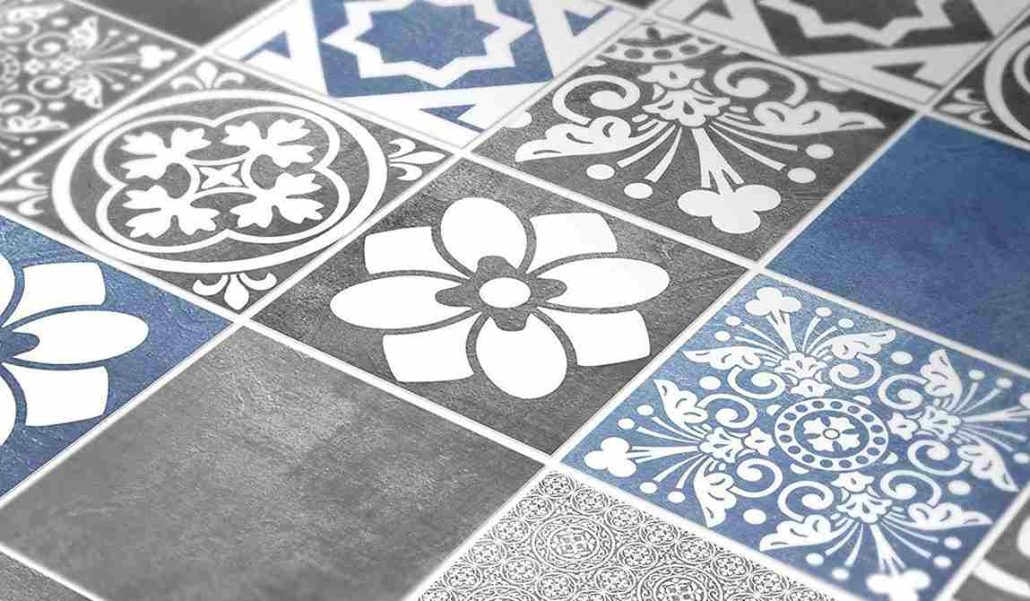
Porcelain tile adhesives, also known as grouts, have been around for a very long time; however, in recent years, they have seen a surge in popularity due to the fact that they are extremely long-lasting, simple to apply, and produce excellent results
There is a wide variety of porcelain tile adhesives available on the market today; these adhesives range from one another in application, color, odor, texture, and even cost
If you want a strong link between two pieces of ceramic tile but don’t want to use cement, an excellent choice is to utilize porcelain tile adhesively
This will provide the desired result
In the realm of tile installation, one of the three options that sees the greatest amount of use, alongside adhesive nails and screws, is porcelain tile adhesive
Before we get into the specifics of how the adhesive for porcelain tile works, let’s have a look at some of the fundamental information about it
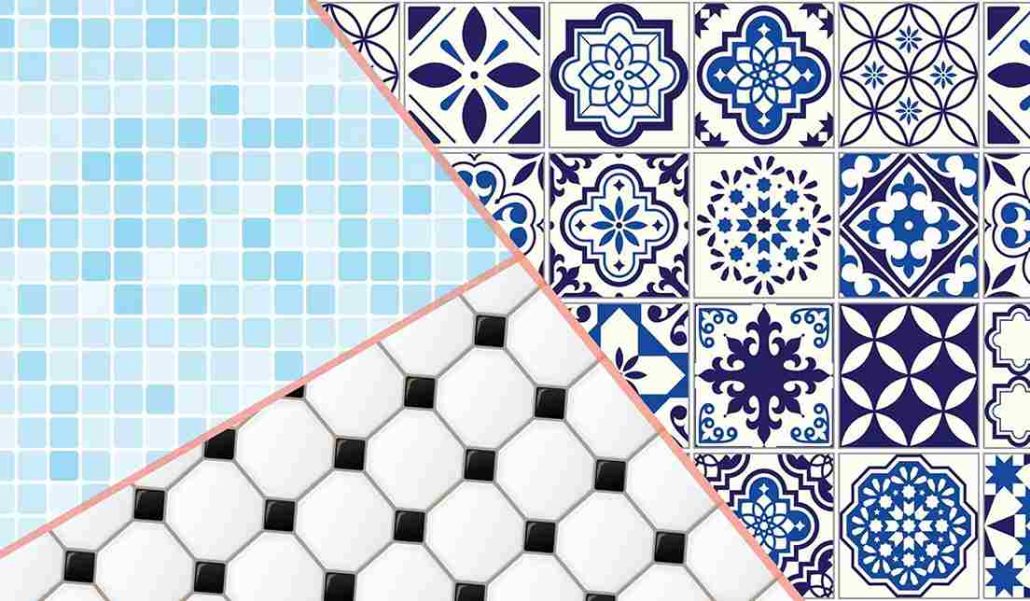
How can I choose which type is best for me? There are three basic varieties of porcelain tiles: porcelain, terra cotta, and natural clay
Porcelain tiles are the most common form
Each material has a distinct set of benefits and drawbacks that are individual to that material
Before deciding on a certain tile, you ought to first think about the purpose for which you will be putting it to use
If you intend to install the tiles on a floor that receives a lot of foot traffic, then porcelain tile is an excellent option for you to consider
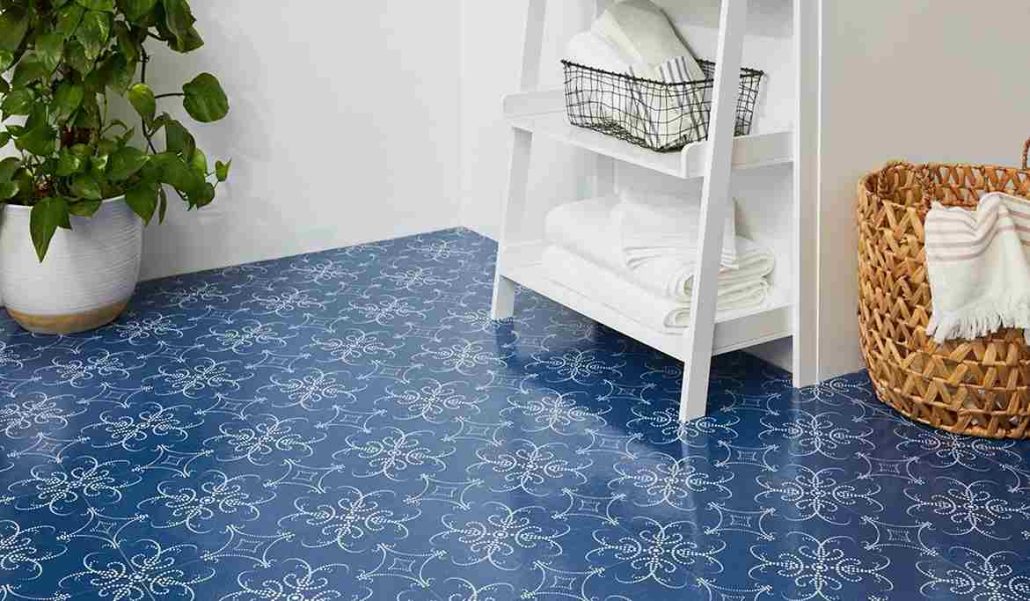
If you wish to put tiles on a kitchen countertop, where the materials are likely to be touched by bare hands or pets, then you should think about installing tiles made of a nonporous surface such as terra cotta or natural clay
What distinguishes them from other people? When looking for an adhesive for porcelain tiles, try to choose one that has silica or quartz sand in its composition
The use of silica sand helps the glue adhere to the porcelain tile, while the addition of quartz sand prevents mineral deposits from forming inside the sink
When you combine water and porcelain tile adhesive, the silica sand in the adhesive undergoes a chemical reaction with the water, which results in the production of a bonding agent
Epoxy resin is frequently utilized by a large number of people as an additional method to help boost the bond’s strength
Epoxy resins do not discolor or stain in the same way that acrylic does and are generally considered to be safe for human ingestion
If you follow the correct procedures for mixing tile adhesive, you should be able to properly apply any type of porcelain tile adhesive